TL;DR
- Channeling = water finds one weak path through grounds, tastes sour + bitter at once
- Starts before tamping: uneven distribution + static clumps are the #1 cause
- Fix: distribution tool + WDT (Weiss Distribution Technique) + level tamp = even extraction
Espresso Channeling: Why It Happens and the Tamping Routine to Fix It
Your shot runs too fast, tastes sour and weak, and you’ve no idea what went wrong — yet your technique looked fine. Channeling is almost certainly the culprit, and the fix starts well before you ever press the tamper down.
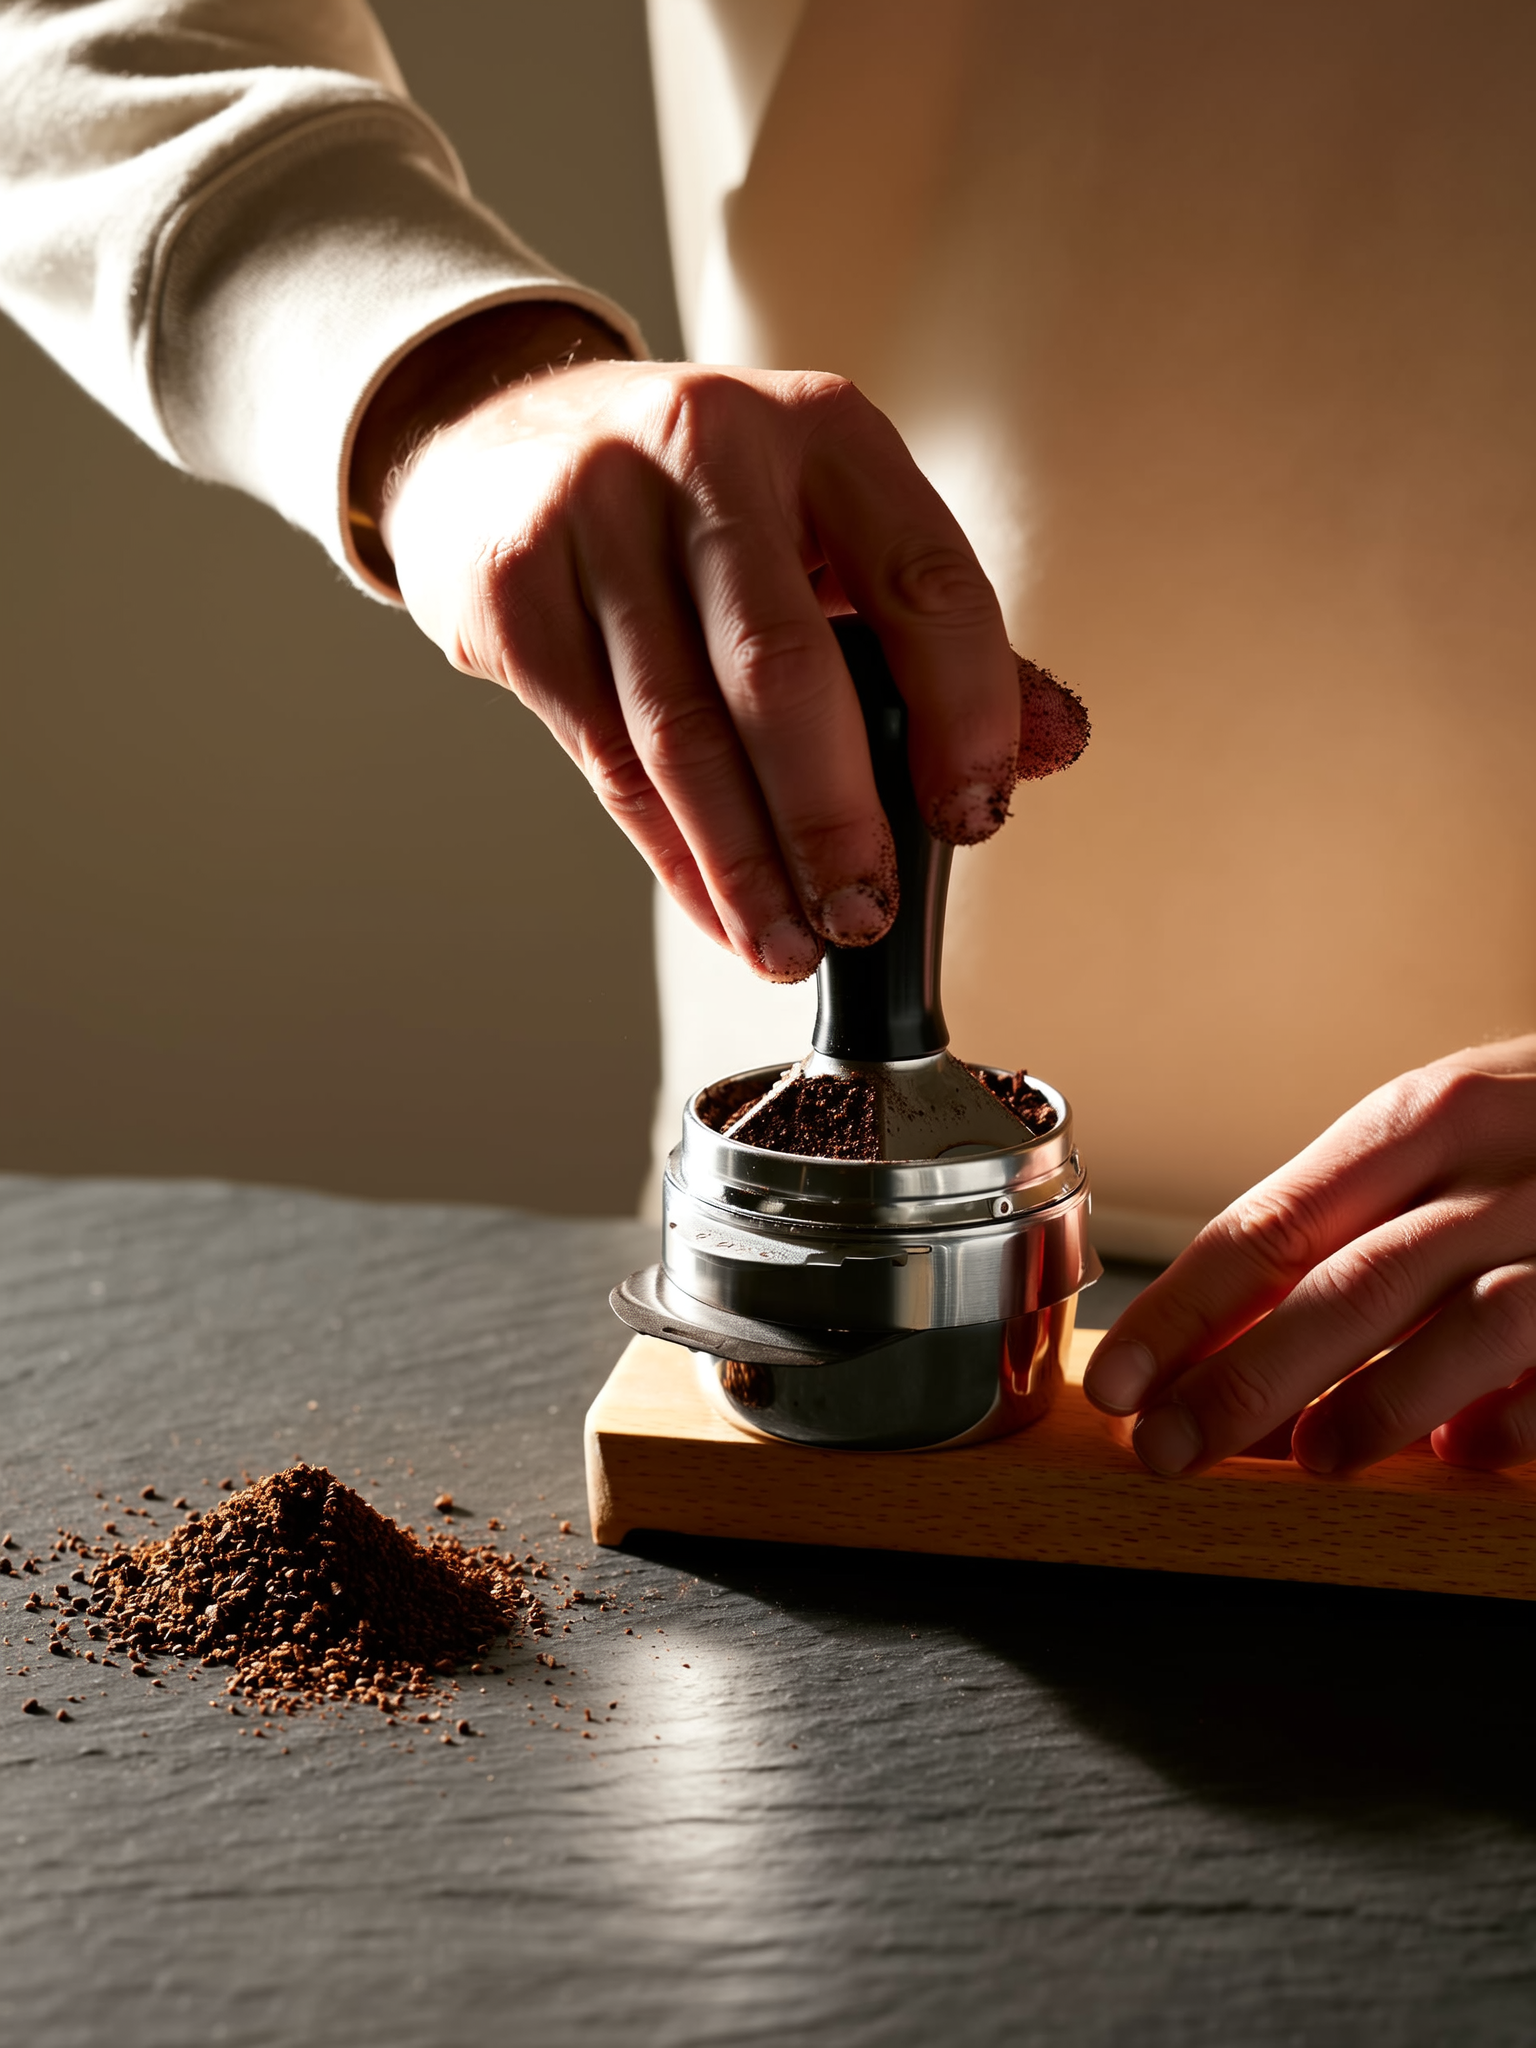
Channeling is one of those problems that’s invisible while it’s happening. Water punches through a tiny weak spot in your puck, races to the bottom of the basket, and you pull a shot that looks normal but tastes completely wrong: sharp, sour, and hollow. The frustrating part is that the bad extraction is already done by the time your espresso hits the cup.
The good news: channeling is almost always caused by the same handful of mistakes, and a consistent pre-shot routine eliminates most of them. Here’s what’s actually going on and exactly what to do about it.
What Channeling Actually Is (and Why It Tastes So Bad)
When you pull an espresso shot, hot pressurized water is supposed to move through every part of the coffee puck at roughly the same rate. That even flow dissolves the right mix of solubles — acids, sugars, oils — and produces a balanced, complex shot.
Channeling happens when water finds a single low-resistance path through the puck instead. It exploits that route, flows through it almost exclusively, and the rest of the coffee bed barely gets touched.
The result is a shot with two opposing problems happening simultaneously. The channel zone gets over-extracted — harsh and bitter. The surrounding puck barely gets extracted at all — sour and underdeveloped. You end up with a cup that tastes sour from under-extraction layered on top of bitterness from the over-extracted stream. It’s not just weak espresso; it’s actively unpleasant in a way that’s hard to dial out.
The Physics: Why Even Tiny Flaws Matter So Much
Here’s why channeling is so unforgiving compared to, say, a slightly off pour-over: espresso uses 9 bars of pressure (about 130 PSI) to force water through a compressed puck. At that pressure, even microscopic variations in density have a massive effect on where the water goes.
Water moves fastest through coarser particles and less compacted regions, and slowest through finer grind and denser areas. The pressure differential is so high that a single clump of fine grounds can act like a dam, rerouting flow around it. A tiny air gap can become a full tunnel in seconds.
This is why your technique looks fine — and the shot is still channeling. The problems are often at a scale you can’t see with the naked eye.
The Most Common Causes (In Order of Importance)
Uneven Distribution Before You Tamp
This is the number-one cause of channeling, and it happens before the tamper ever touches the grounds.
When coffee drops from your grinder into the portafilter, static electricity and grind variance create uneven mounds of grounds. Static builds up as coffee passes through the burrs, causing particles to clump together into dense pockets. These clumps don’t disappear when you tamp — they compress into hard nodes surrounded by looser grounds, creating exactly the kind of density variation that water will exploit.
Tapping the portafilter on the counter or sweeping your finger across the top doesn’t actually solve this. It moves surface grounds around but leaves internal clumps intact.
Angled or Inconsistent Tamping
The second most common cause is tamping at a slight angle. If the tamper sits even a degree or two off-horizontal when you press, one side of the puck ends up denser than the other. Water channels through the lighter side every time.
Here’s something most guides understate: angle matters more than force. Research shows only about a 3% difference in extraction between a light tamp and a heavy tamp. Modern industry consensus has shifted away from obsessing over 30-versus-20 pounds of pressure. Consistency and levelness are the real variables.
Damaged or Low-Quality Baskets
Worth checking if you’re doing everything else right: a basket with bent edges, uneven holes, or corrosion doesn’t hold grounds evenly and lets water escape at the sides rather than flowing through the puck. If you’ve had your basket for years, inspect it closely. Precision baskets from brands like IMS or VST are worth considering if you’re pulling multiple shots daily. IMS precision espresso basket
The Tamping Routine That Actually Prevents Channeling
This four-step routine works because the order matters — don’t skip ahead to the tamp.
Step 1: Break Up Clumps Before Anything Else
Before you distribute, break apart any clumps from the grinder. The most effective tool is a WDT (Weiss Distribution Technique) needle tool — thin needles that physically stir through the grounds in the portafilter, breaking up clumps and redistributing fines before they get compressed. WDT espresso distribution tool
WDT produces consistent results because it works at the microscopic level, reaching internal clumps that surface-leveling tools miss entirely.
If you don’t have a WDT tool, a fine-gauge needle or toothpick used in a gentle swirling motion through the grounds will help. It’s not perfect, but it’s better than nothing.
Step 2: Level the Bed
After using WDT (or a distribution tool), level the grounds before tamping. Use a distribution tool or a gentle fingertip sweep to ensure the surface is flat and even. The goal is a uniform, consistent depth across the entire basket — no peaks, no valleys.
A leveling or distribution tool that sits in the basket and rotates works well here. espresso distribution leveling tool It removes the guesswork and is worth the $15–$30 investment if you’re pulling shots daily.
Step 3: Tamp With Proper Posture and a Level Wrist
Grip the tamper the way you’d grip a doorknob — not too tight, fingers relaxed. Keep your wrist straight, your elbow at roughly a 90-degree angle, and your arm directly above the portafilter.
Press down with consistent downward force — around 20–30 pounds of pressure is standard guidance. You don’t need to measure this precisely; that’s actually the point. The goal is a firm, controlled press, not maximum force.
Keep the tamper base perfectly horizontal throughout the press. This is the critical part. If your wrist rotates slightly as you press, that’s likely your channeling problem.
Step 4: Polish the Puck (Optional but Useful)
After your initial tamp, add a gentle twisting motion as you lift the tamper off the puck. This “polishing” step smooths the surface of the coffee bed and removes small irregularities. It takes one second and costs nothing.
How to Spot Channeling Mid-Shot
You can’t see inside the puck, but you can read the signs:
- Shot runs noticeably fast: Espresso should take roughly 25–30 seconds from when flow starts. If your shot is done in 15 seconds, water found a channel. A very fast, gushing start is a strong indicator.
- Uneven stream color: A healthy espresso stream is a consistent amber-brown. If you see pale streaks or a sudden color shift partway through the shot, different parts of the puck are extracting at different rates.
- Blonding too early: The shot “blondes” (turns pale) before it should if channeling has exhausted the grounds in one spot while the rest is barely touched.
Once you notice any of these signs: stop. Don’t keep pulling the shot hoping it corrects itself. The extraction is already compromised, and continuing just adds volume without quality. Toss the grounds, re-dose, and go through the full distribution-and-tamp routine again.
Advanced Moves Once You’ve Got the Basics Down
Use a Calibrated or Self-Leveling Tamper
Spring-loaded and self-leveling tampers take the angle variable out of the equation by physically preventing you from pressing at a tilt. self-leveling espresso tamper If you’re still getting channeling despite careful technique, this is often the most direct fix.
Keep Notes on What Works
Muscle memory comes from repetition, but it builds faster if you’re paying attention. When you pull a shot you’re happy with — right timing, good flavor, nice crema — note your dose weight, grind setting, and any feel-based details about the tamp. Replicating a good shot is much easier when you have a record of it.
Revisit Your Grind and Dose
Sometimes persistent channeling isn’t a distribution or tamping problem at all — it’s a recipe problem. If your dose is too light for your basket size, the puck is thin and fragile, giving water less resistance and more opportunity to channel. If your grind is too coarse, water flows through too easily and uneven density has an even larger effect.
Rule of thumb: if you’ve fixed your tamping routine and channeling still happens frequently, dial your grind finer by one step or increase your dose by 0.5g and retest.
Building a Channeling-Free Routine
Channeling is almost never caused by one catastrophic mistake. It’s caused by small inconsistencies that stack up — a clump here, a slight angle there — and compound under high pressure.
The solution is equally unsexy: a consistent, ordered routine that you run the same way every shot.
- Grind into the portafilter
- WDT to break up clumps
- Level with a distribution tool or fingertip
- Tamp level, with consistent pressure, from directly above
- Polish and lock in
Follow that sequence every time, and channeling will stop being a regular problem. When it does happen occasionally (it will — everyone channels sometimes), you’ll have enough consistency in your baseline routine to identify what went wrong.
Once channeling becomes rare, you’ll notice it in the cup: cleaner crema, better mouthfeel, more clarity in flavor, and the kind of shot that actually tastes like what you paid for those beans.
Pulled a great shot lately? The distribution step is almost always the reason. Nail that first, and the tamp almost takes care of itself.
Sources
- Master Espresso Tamping: Brew Richer, More Flavorful Coffee
- How to Perfect Your Tamp | Clive Coffee
- How to Tamp Espresso – The Perfect Espresso…
- What Is Tamping and How to Tamp Coffee – Pro Coffee Gear
- How to Tamp Espresso Like a Pro: A Step-by-Step Guide – Casabrews
- The Art of Espresso Tamping: Pressure, Technique, and Consistency