TL;DR
- Clean your group head and purge before brewing to remove stale oils and stabilize temperature.
- Dial in your grinder to achieve 25–30 second pulls; adjust in small increments for consistency.
- Weigh your dose (18–20g for double shots) and use a scale every time for repeatability.
Espresso Morning Routine for Home Baristas
There’s something genuinely satisfying about pulling a perfect shot of espresso before the rest of the house wakes up. The hiss of steam, the honey-colored crema settling into the cup — it’s a ritual that grounds you before the day gets complicated.
But great home espresso doesn’t happen by accident. It happens through a consistent, repeatable routine that you refine a little more each morning. Whether you’ve been pulling shots for years or you’re still in that exciting (and sometimes frustrating) early phase, a solid morning workflow makes the difference between a shot you’re proud of and one you quietly tip down the sink.
Here’s a real, step-by-step espresso morning routine you can follow, adapt, and make your own.
Pre-Brew Preparation: Getting Your Gear Ready
Before you touch your coffee, spend a few minutes getting your machine and tools in good shape. It sounds obvious, but skipping this step is one of the most common reasons home baristas get inconsistent results.
Clean your group head and portafilter first. Old coffee oils build up fast — even overnight. A quick wipe of the portafilter basket and a rinse of the group head before brewing removes that stale residue and ensures water flows evenly through your puck. If you didn’t clean up after yesterday’s shots, do it now. Sixty seconds of wiping saves you from bitter, off-tasting espresso.
Check your water reservoir. Fill it with fresh, cold water before heating up. Cold water helps your machine reach temperature stability more predictably, and fresh water means you’re not brewing through whatever’s been sitting in there since Tuesday.
Purge the group head once you’re up to temperature. Run 2–3 seconds of water through the group head before locking in your portafilter. This flushes out any residual stale water in the lines from the last brew and stabilizes the temperature of the head itself. It takes three seconds. Always do it.
Dialing In Your Grinder: The Foundation of Great Shots
If there’s one thing experienced home baristas all agree on, it’s this: your grinder matters more than almost anything else. A so-so machine with a great grinder will outperform the reverse nearly every time.
Start with a medium-fine grind and pull a test shot. Your benchmark is a 25–30 second pull. If your shot runs fast — say, under 20 seconds — your grind is too coarse. Go finer. If it runs slow, dripping past 35 seconds, go coarser. Adjust in small increments. One notch at a time.
Weigh your dose every single time. This is non-negotiable if you want repeatability. For a standard double shot, aim for 18–20g of ground coffee. Eyeballing it works until it doesn’t — and the days it doesn’t are the days you wonder what went wrong.
A small digital scale digital coffee scale with timer is one of the most underrated tools in a home barista’s kit. Place it under your portafilter while dosing, and use it again under your cup to track your yield. Once you have consistent numbers, great shots stop feeling like luck.
Brush your burrs weekly. Ground coffee fines cling to burrs through static, and over time they go stale and affect flavor. A quick once-over with a dry brush takes under a minute and keeps your grinder performing as it should. Don’t use water or cleaning tablets unless your grinder’s manual specifically recommends it.
Tamping and Locking In Technique
Tamping looks simple. It’s the part every beginner thinks they’ve mastered after the first week. Then they learn about channeling.
Channeling is what happens when water finds a weak spot in your puck — an air gap, an uneven tamp, a clump of grounds — and rushes through it. You end up with some grounds over-extracted and bitter, others under-extracted and sour, and a shot that tastes muddy and confused.
Distribute before you tamp. Before pressing down, use a small distribution tool or a WDT (Weiss Distribution Technique) tool to break up clumps and level the coffee in the basket. The WDT is just a set of thin needles you stir through the grounds — it looks fussy, but it genuinely reduces channeling. If you don’t have a distribution tool WDT espresso distribution tool, a toothpick or straightened paperclip works in the meantime.
Tamp level and firm. Around 30 lbs of pressure is the standard target, but more important than the exact number is that your tamp is flat. An angled tamp tilts the whole puck, and water will always find that angled edge first. Stand directly over the portafilter, keep your wrist straight, and press down evenly.
Lock in your portafilter smoothly. Once locked, look at the seal between the portafilter and the group head. Any water spraying around the edges during the shot means something’s off — either the basket isn’t seated correctly, or the seal gasket on your machine needs attention.
Pulling the Shot: Timing and Observation
Now comes the part everyone’s waiting for.
Start your timer the moment water contacts the coffee. Your target window is 25–30 seconds from first contact to when you stop the shot. Some machines have a built-in timer on the display; for others, a separate timer or your phone works fine.
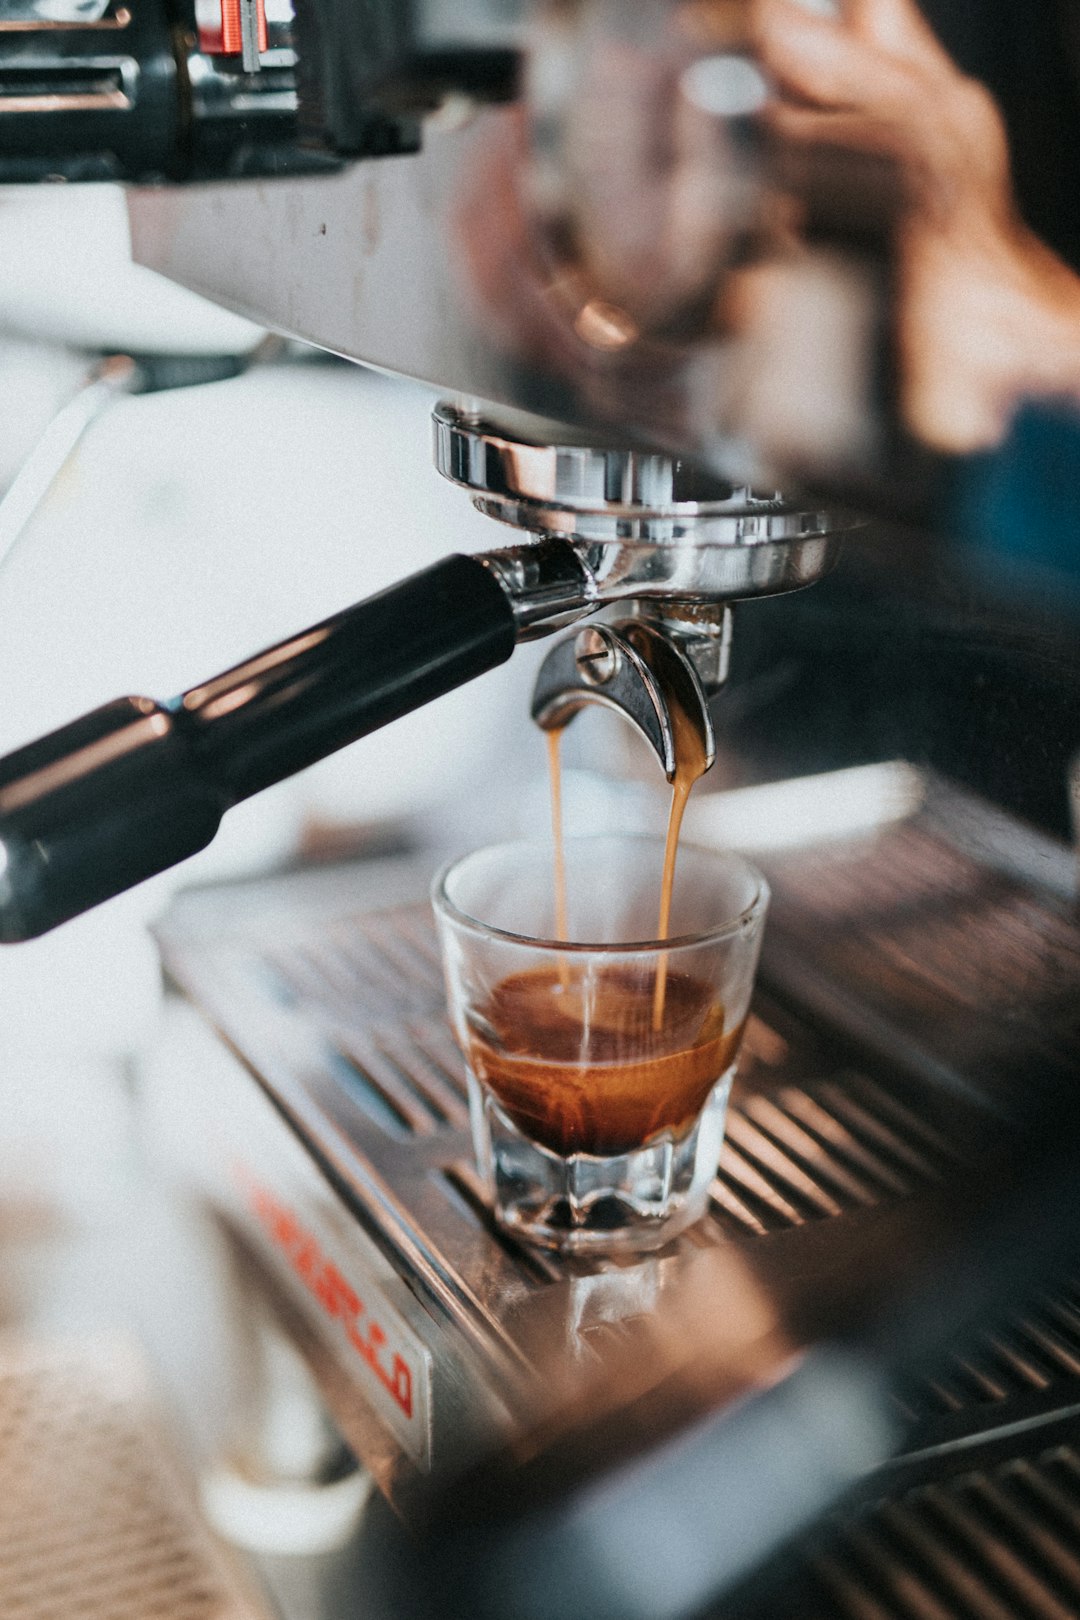
Watch the stream, not just the clock. A good espresso shot starts slow and dark — almost like thick syrup — then gradually lightens and flows more freely. Near the end, you want to see a steady “honey drizzle” that spirals slightly. If the stream sputters, spits, or sprays erratically, something in your grind or tamping needs adjustment.
Stop at your target yield. For a double shot, you’re typically aiming for about 36–40g of liquid in the cup (roughly 1.5–2 oz). This is your brew ratio. A standard starting point is 1:2 — so 18g of coffee in, 36g of espresso out. Pull your shot, weigh the output, and adjust your ratio from there based on taste.
Don’t chase a perfect shot on day one. Aim for a repeatable shot first. Consistency is the goal; perfect comes later.
Steaming and Milk Technique (If Making Milk Drinks)
If you’re a latte or flat white person, this section is for you. Milk technique is its own skill, and it improves quickly with daily practice.
Always purge the steam wand before and after steaming. A short 1–2 second burst before you submerge the wand clears out any condensed water sitting in the tip. Do it again after steaming — milk that dries inside a steam wand becomes almost impossible to remove and is a breeding ground for bacteria.
Position your wand tip just below the milk surface. You’re trying to create a gentle whirlpool — milk spinning in a circular motion while you introduce a small amount of air near the beginning of the steam. If you hear a loud chirping or screeching sound, your wand is too high and you’re introducing too much air at once. Go just a little deeper.
Target 65–70°C (150–160°F) as your finishing temperature. If you don’t have a thermometer, the practical test is simple: once the pitcher is too hot to hold comfortably against your palm, you’re there. Stop steaming and pour immediately — milk continues to heat slightly even after you cut the steam.
Swirl and tap the pitcher on your counter before pouring to pop any large bubbles and create that glossy, paint-like texture. That’s what you’re after for latte art, but honestly, it makes every milk drink taste better even if the pour is just a blob.
Post-Brew Cleanup: Protecting Your Machine
This part feels like the least fun, but five minutes of cleanup after every session protects a machine that might have cost you hundreds of dollars.
Backflush your group head if your machine supports it. Machines with a 3-way solenoid valve (most semi-automatic home espresso machines) can be backflushed by running water through the group head with a blind basket inserted instead of your regular basket. Do 5–10 short 5-second bursts. This clears out coffee residue from the internal lines that you’ll never reach any other way.
Wipe and dry your portafilter and basket before storing. Moisture left in the basket accelerates the buildup of coffee oils and mineral scale. A quick dry with a clean cloth takes seconds and keeps things much cleaner week to week.
Empty and rinse the drip tray at least once a week. Drip trays collect a surprising amount of water, milk residue, and coffee grounds. Left too long, they develop a sour smell that can actually affect the aroma around your machine. Rinse it out. It takes 90 seconds.
Building Your Daily Ritual
Here’s the honest truth about home espresso: the machine, the grinder, the technique — none of it matters as much as showing up and doing it every day.
Keep a small notebook next to your espresso setup. Write down your grind setting, your dose, your pull time, and a one-word flavor note. This sounds overkill until you’ve been through two weeks of adjustments and can’t remember what settings gave you that really good shot on Thursday morning. The notebook removes the guesswork.
Expect the learning curve to take 2–4 weeks of daily practice. Most home baristas find their groove somewhere in that window — where the routine feels natural, the shots are reliably good, and the adjustments feel intuitive rather than stressful. Be patient with yourself. The ritual is part of the reward.
Consistency beats chasing perfection. A routine you follow every day, even imperfectly, will produce better espresso than occasional perfection sandwiched between chaotic mornings. Lock in the steps, get comfortable with the process, and let the quality follow naturally.
The best espresso you’ll ever make is probably still a few weeks away. That’s a good thing. It keeps the mornings interesting.
New to home espresso? You might also enjoy our guides on [dialing in a grinder for the first time], [the best budget espresso machines for beginners], and [how to read espresso crema to troubleshoot your shots].
Photo by Nathan Dumlao on Unsplash