TL;DR
- Weak cold brew = under-extraction; muddy = filtration failure; dead = over-steeping. Taste straight to diagnose.
- Use a 1:5 coffee-to-water ratio (100g coffee per 500ml water) for a well-rounded concentrate.
- Weigh ingredients on a scale, not eyeballed—inconsistent portions guarantee weak or unbalanced results every time.
Why Does Your Cold Brew Taste Weak, Muddy, or ‘Dead’? A Step-by-Step Ratio and Filtering Fix
Cold brew gone wrong is one of the most frustrating brewing failures — you waited 16 hours, and what you got tastes like diluted dishwater or bitter sludge. The good news: weak, muddy, or flat cold brew almost always traces back to three fixable variables — your coffee-to-water ratio, your steep time, and your filtration method. Fix those three, and you’ll be pulling smooth, rich concentrate every time.
This guide walks you through exactly how to diagnose your batch and correct it on the next brew.
The Two Most Common Cold Brew Complaints (And What They’re Actually Telling You)
Before you start tweaking anything, you need to know which problem you’re dealing with. Weak and muddy are not the same thing, and the fixes are different.
Weak or watery cold brew means under-extraction — the water didn’t pull enough flavor compounds from the grounds. It’ll taste thin, lack body, and you’ll find yourself dumping in extra cream or sugar just to feel like you’re drinking something.
Muddy or gritty cold brew is a filtration problem, not a ratio problem. The flavor you’re tasting — bitter, chalky, or gritty — comes from fine coffee particles suspended in the liquid. East View Coffee puts it plainly: muddy or gritty results come from filtration issues, not from your ratio being off. Adding more coffee won’t fix it.
“Dead” or flat cold brew is a third category. It has no brightness, no life — just a hollow, stale taste. This usually means you steeped too long (24+ hours) or started with old beans. Over-extraction collapses the nuanced flavor compounds that give cold brew its character.
Taste your concentrate straight — no milk, no ice — to figure out which category you’re in. That single step will tell you exactly where to focus.
Getting Your Ratio Right First
Most guides throw out the “1:4 ratio” as gospel, but research suggests a slightly looser ratio works better for concentrate. A credible benchmark from InstaCuppa Store puts the optimal cold brew concentrate ratio at 1 part coffee to 5 parts water by weight — roughly 100 grams of coffee per 500 ml of water. That’s still dramatically stronger than hot drip coffee, which typically uses a 1:15 ratio, meaning cold brew concentrate uses roughly three times as much coffee.
Here’s a practical range to work within:
- 1:3.5 to 1:4 — Very strong concentrate; best if you’re planning to dilute heavily with milk or water before serving
- 1:5 — A well-rounded concentrate; versatile for drinking straight or diluting 1:1
- 1:6 or beyond — Starts to taste weak and under-extracted; not recommended for concentrate-style brewing
If your cold brew is consistently tasting weak, don’t just add a random scoop more coffee. Weigh your coffee and water on a kitchen scale and hit a consistent 1:5 ratio before you change anything else. Eyeballing grind portions into water leads to inconsistent results that are impossible to troubleshoot. A basic digital kitchen scale digital kitchen scale for coffee is one of the highest-ROI tools in any home brewer’s kit.
Grind Size: The Variable Most Home Brewers Get Wrong
This is where most guides let you down — they say “use coarse grind” and move on. But grind size is doing more work in cold brew than in almost any other method, and getting it wrong causes both weak and muddy results.
For cold brew specifically, Ratio Coffee recommends an extra-coarse grind, similar in consistency to breadcrumbs — coarser than what you’d use for a French press. East View Coffee also specifies a grind similar to sea salt to prevent fines and sediment.
Here’s why grind size matters so much:
- Too fine: Your grounds release bitter, harsh compounds faster, and the “fines” — essentially coffee dust — stay suspended in the liquid. Aggressive stirring or shaking makes this worse by breaking down grounds further and keeping particles in suspension, as MXM Coffee Lab notes.
- Too coarse: Water has less surface area to work with, and you’ll end up under-extracting even with a correct ratio and 18-hour steep.
The practical takeaway: if your brewer’s built-in mesh filter is your only filter, grind coarser than you think you need to. The mesh can’t catch fine particles the way paper can.
A research note worth flagging here — a 2023 study published in the Journal of Food Science (cited by Roast Aroma) tested grind sizes from 282 to 1,057 microns across different temperatures and times. Their finding: extraction in cold brew is primarily time-dependent, not temperature-dependent within practical brewing ranges. In other words, fussing over whether your fridge is at 37°F vs. 42°F matters far less than giving the brew enough time at any reasonable cold temperature.
Steep Time: The 12–18 Hour Window
Cold brew is forgiving within a range, and that range is 12 to 18 hours for concentrate-style brewing. East View Coffee specifies 12–16 hours for concentrates and 18–24 hours for ready-to-drink (non-concentrate) batches.
Here’s how to match steep time to your situation:
| Goal | Grind | Steep Time |
|---|---|---|
| Light roast, bright flavor | Medium-coarse | 12–14 hours |
| Balanced concentrate | Coarse | 14–16 hours |
| Bold/dark roast concentrate | Extra-coarse | 16–18 hours |
Don’t push past 24 hours. The flavor compounds responsible for brightness — lighter acids, floral and fruit notes — break down with extended steep times. What’s left tastes flat and hollow. That’s your “dead” cold brew. There’s no rescuing an over-steeped batch after the fact.
One thing worth knowing: whether you steep at room temperature or in the fridge changes your timeline. Room temperature brewing (68–72°F / 20–22°C) is faster — 12–14 hours is typically sufficient. Fridge brewing is slower and gentler — you’ll want closer to 16–18 hours. Both approaches work; just match your steep time to your environment.
Filtration: The Step That Makes or Breaks the Batch
Even a perfectly rationed, perfectly steeped cold brew can taste muddy if you filter it wrong. This is the most commonly skipped quality step.
Paper filters produce the cleanest result. They trap fine particles and result in a clear, light-bodied cup. The trade-off is that paper also removes some coffee oils, so the cup will be slightly less rich than with cloth or mesh. If you’ve been battling muddy cold brew, paper is the fastest fix.
Cloth filters (cotton or hemp) catch most fines but let through more oils, giving you more body with less sediment than metal mesh. They’re a middle-ground option and a good choice if paper-filtered cold brew feels too “thin” to you.
Metal mesh filters (built into many cold brew pitchers) allow fine grounds to pass through. InstaCuppa Store notes that mesh filters produce stronger extraction than bags, but they can’t solve a muddiness problem caused by fine grounds. If your cold brew is coming out gritty with a mesh filter, you need to either grind coarser or add a paper or cloth filter on top.
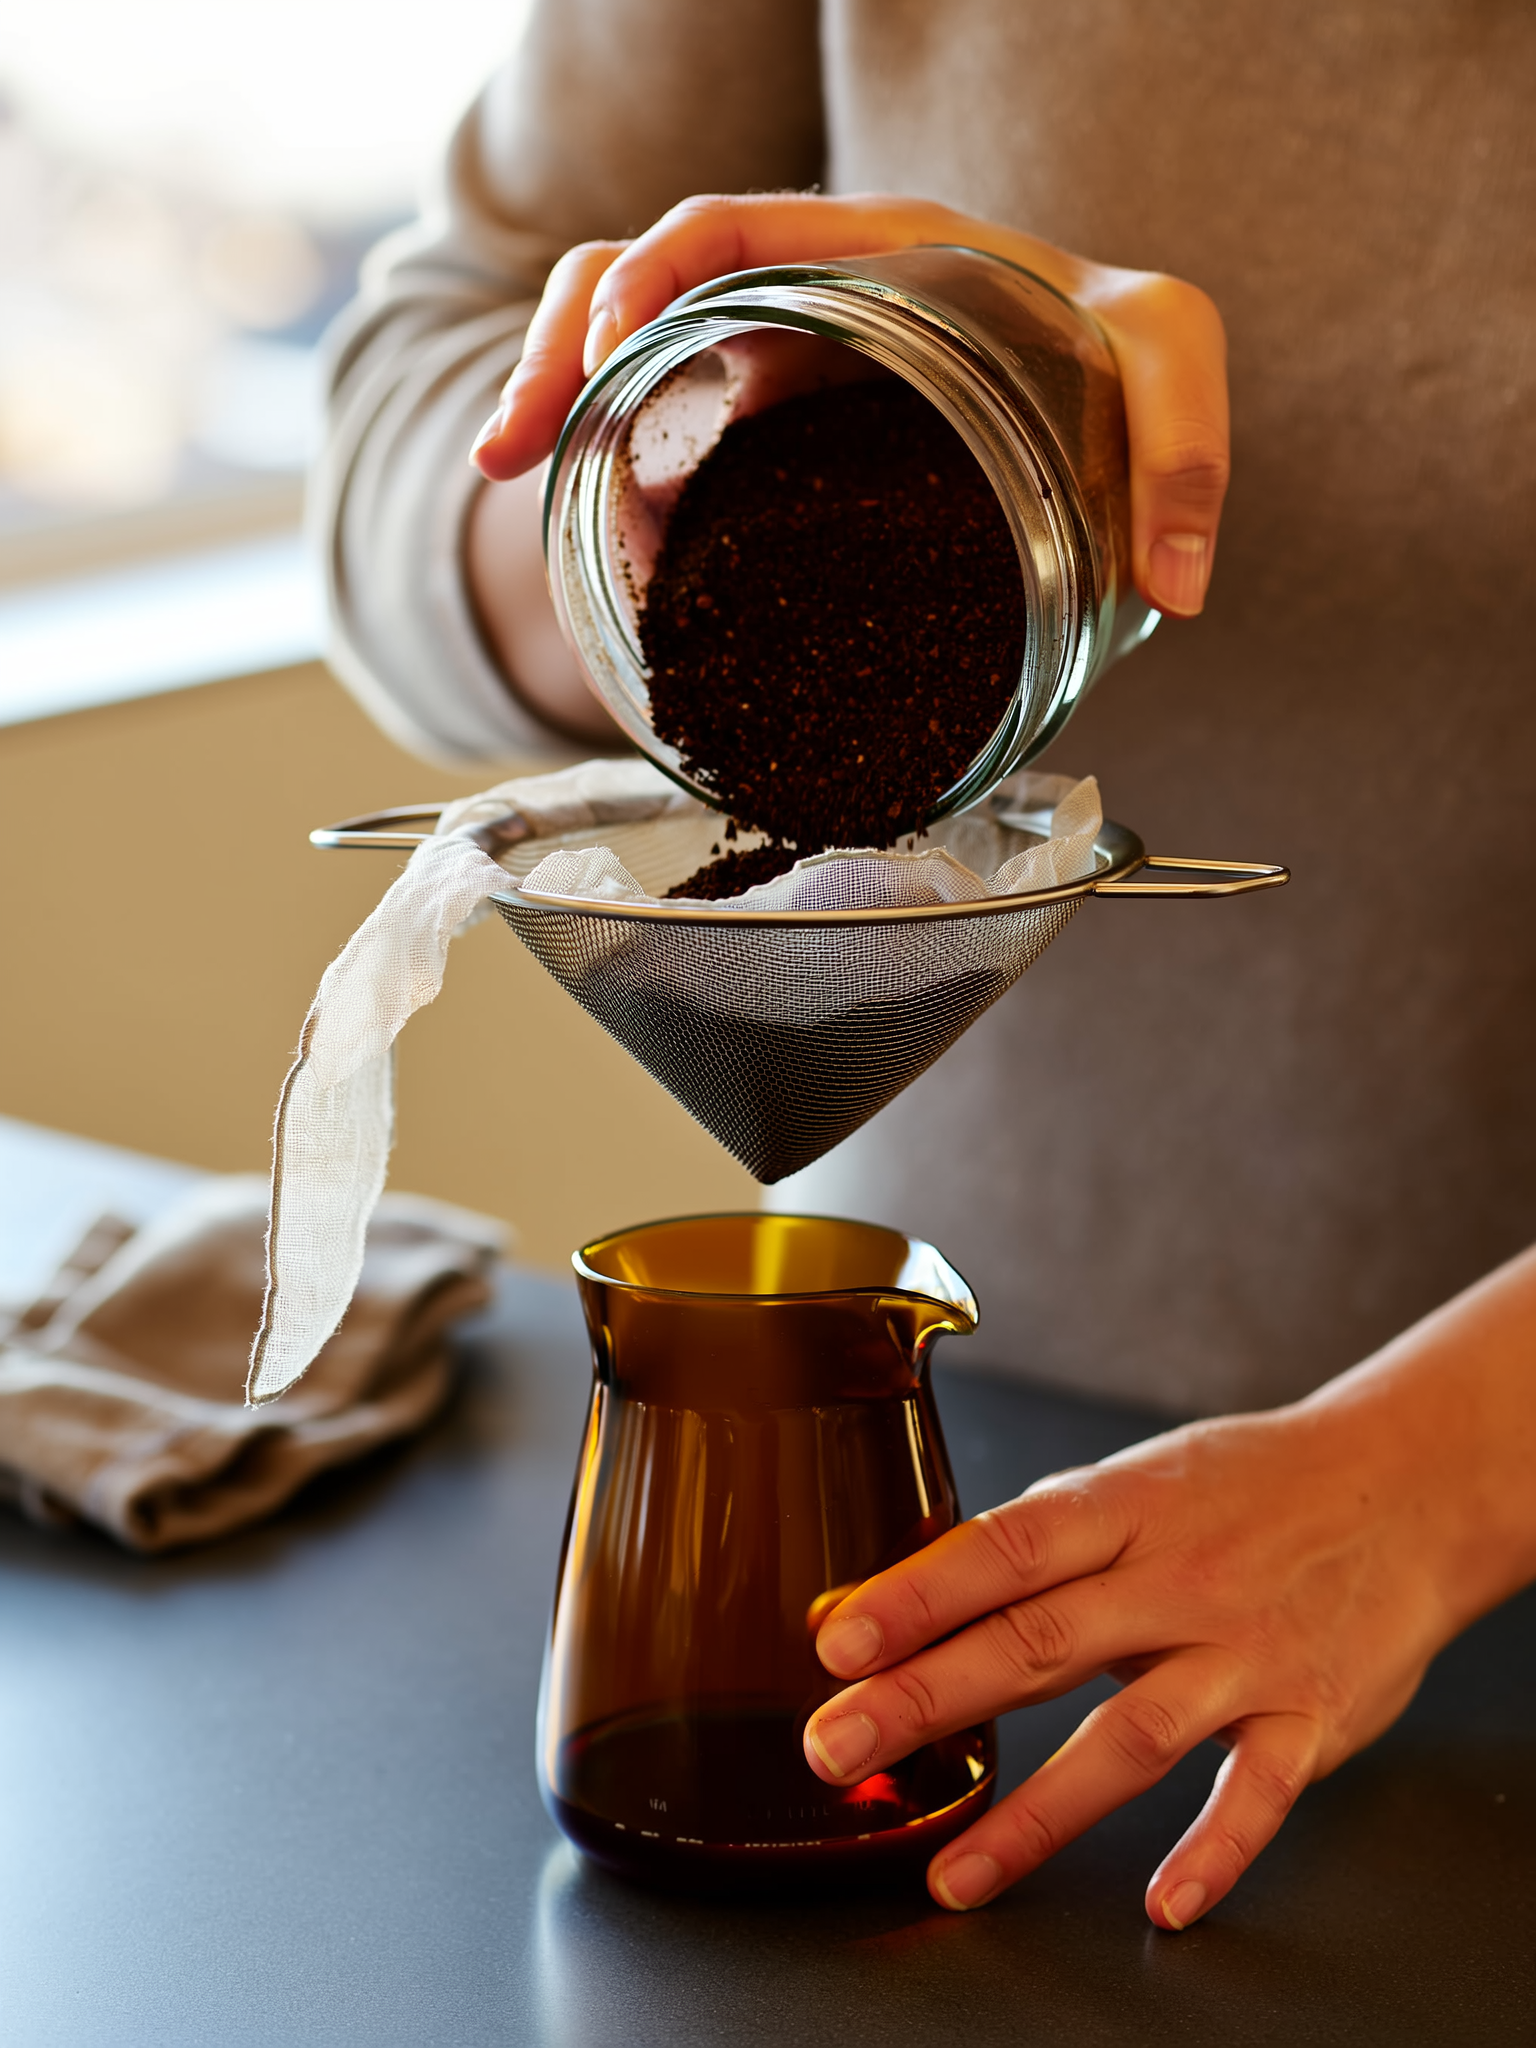
The double-filtration method is what I’d recommend if you’ve been struggling with persistent muddiness: filter through cloth first to catch the bulk of the grounds, then pour through a fine-mesh strainer or paper filter to catch residual fines. You get the body of cloth with the clarity of paper. It adds five minutes and makes a noticeable difference.
One more rule from MXM Coffee Lab that’s easy to miss: always filter first, then dilute. Diluting before filtering just means you’re starting with a weaker liquid and wondering why the final cup tastes thin. Filter your full-strength concentrate, then portion and dilute as needed.
Step-by-Step Cold Brew Fix Protocol
Here’s the corrected process from start to finish:
Step 1 — Weigh your ratio.
Start at 1:5 coffee to water by weight. If you’ve been brewing weak, move to 1:4. Don’t guess — use a scale.
Step 2 — Grind extra-coarse.
Think breadcrumbs or coarse sea salt. If you’re using a mesh-only filter, go even coarser to compensate for what the mesh will let through.
Step 3 — Steep 12–18 hours.
Room temperature: 12–14 hours. Fridge: 16–18 hours. Set a timer. Don’t exceed 24 hours.
Step 4 — Don’t stir or shake during steep.
Aggressive movement breaks grounds into finer particles that stay suspended in your brew and cause muddiness.
Step 5 — Filter before diluting.
Use paper for the cleanest result. Use cloth if you want more body. Double-filter (cloth then paper) if you’ve had persistent muddiness.
Step 6 — Taste the concentrate straight.
Before you add anything, taste it undiluted. Bitter? Filtration or too-fine grind. Flat? Beans are old or steep was too long. Weak? Ratio or steep time. This step makes your troubleshooting precise for the next batch.
Quick Troubleshooting Reference
| What You’re Tasting | Likely Cause | The Fix |
|---|---|---|
| Weak, watery | Under-extraction | Adjust to 1:4 ratio; extend steep to 16+ hours |
| Muddy, gritty | Fine grounds in liquid | Switch to paper filter; grind coarser; try double-filtration |
| Bitter, harsh | Over-extraction or too-fine grind | Grind coarser; reduce steep to 12–14 hours |
| Flat, “dead” | Over-steeped or stale beans | Keep steep under 24 hours; use fresher beans roasted within 4–6 weeks |
| Too strong | Ratio too concentrated | Dilute 1:1 before serving; adjust ratio to 1:5 or 1:6 next batch |
The Bottom Line
Cold brew should be smooth, low-effort, and deeply satisfying — but getting there requires a little precision upfront. The optimal extraction for cold brew intentionally leaves some solubles behind (about 70% of total possible solubles extracted, according to Tea & Coffee Trade Journal) to avoid the harsh, over-extracted flavor that ruins so many batches. Nail your ratio at 1:5, grind extra-coarse, stay within the 12–18 hour window, and filter through paper or cloth — and you’ll be pulling genuinely excellent cold brew consistently.
The single biggest thing most home brewers skip? Tasting the concentrate straight before diluting. That one habit closes the feedback loop and turns every batch into data for the next one.
Frequently Asked Questions
Why does my cold brew taste weak and watery?
Weak cold brew is under-extraction—your grounds didn’t steep long enough or you used too little coffee relative to water. Check your coffee-to-water ratio first; aim for 1:5 (100g coffee per 500ml water) and ensure you’re steeping for the full 16–18 hours recommended.
How long should I steep cold brew to avoid over-extraction?
Steep for 16–18 hours at room temperature. Going beyond 24 hours causes over-extraction, which flattens flavor and makes cold brew taste stale or hollow. If your brew tastes dead or lifeless, reduce your next steep time and confirm your beans are fresh.
Can I fix muddy cold brew by adding more coffee?
No—muddy or gritty cold brew is a filtration problem, not a ratio problem. The bitter, chalky taste comes from fine particles suspended in the liquid. Switch to a finer filter (paper over metal) or use a multi-stage filtration method to remove sediment.
Is 1:4 coffee-to-water ratio better than 1:5 for cold brew?
A 1:5 ratio produces a more balanced, versatile concentrate that works well diluted or straight. A 1:3.5–1:4 ratio creates a very strong concentrate best suited for heavy dilution with milk or water. Choose based on how you plan to serve it.
Sources
- Your Cold Brew Tastes Flat? You’re Probably Using the Wrong Grind – Ratio
- 1:5, Dilute 1:1, Cold Brew Ratio by Weight for Home Brewers – East View Coffee Company
- Cold Brew Ratios: Concentrate vs Ready-to-Drink – Podium Coffee Club
- Common cold brew mistakes and how to avoid them – MXM Coffee Lab
- Cold Brew Coffee Maker Problems: Bitter, Weak & Watery Fixes – InstaCuppa Store
- Cold Brew Coffee How To—The Fix for Weak Homemade Batches – Pascucci USA