TL;DR
- Siphon brewing uses vacuum pressure to produce clean, full-bodied coffee with exceptional clarity and subtle flavor notes.
- Essential gear: glass siphon pot (3-5 cup), heat source (butane or electric), burr grinder, cloth filters, scale, and timer.
- Master the technique by managing heat, timing your stir, and staying attentive throughout the vacuum-assisted brewing process.
Siphon Coffee Routine for Enthusiasts: How to Master the Art of Vacuum Brewing at Home
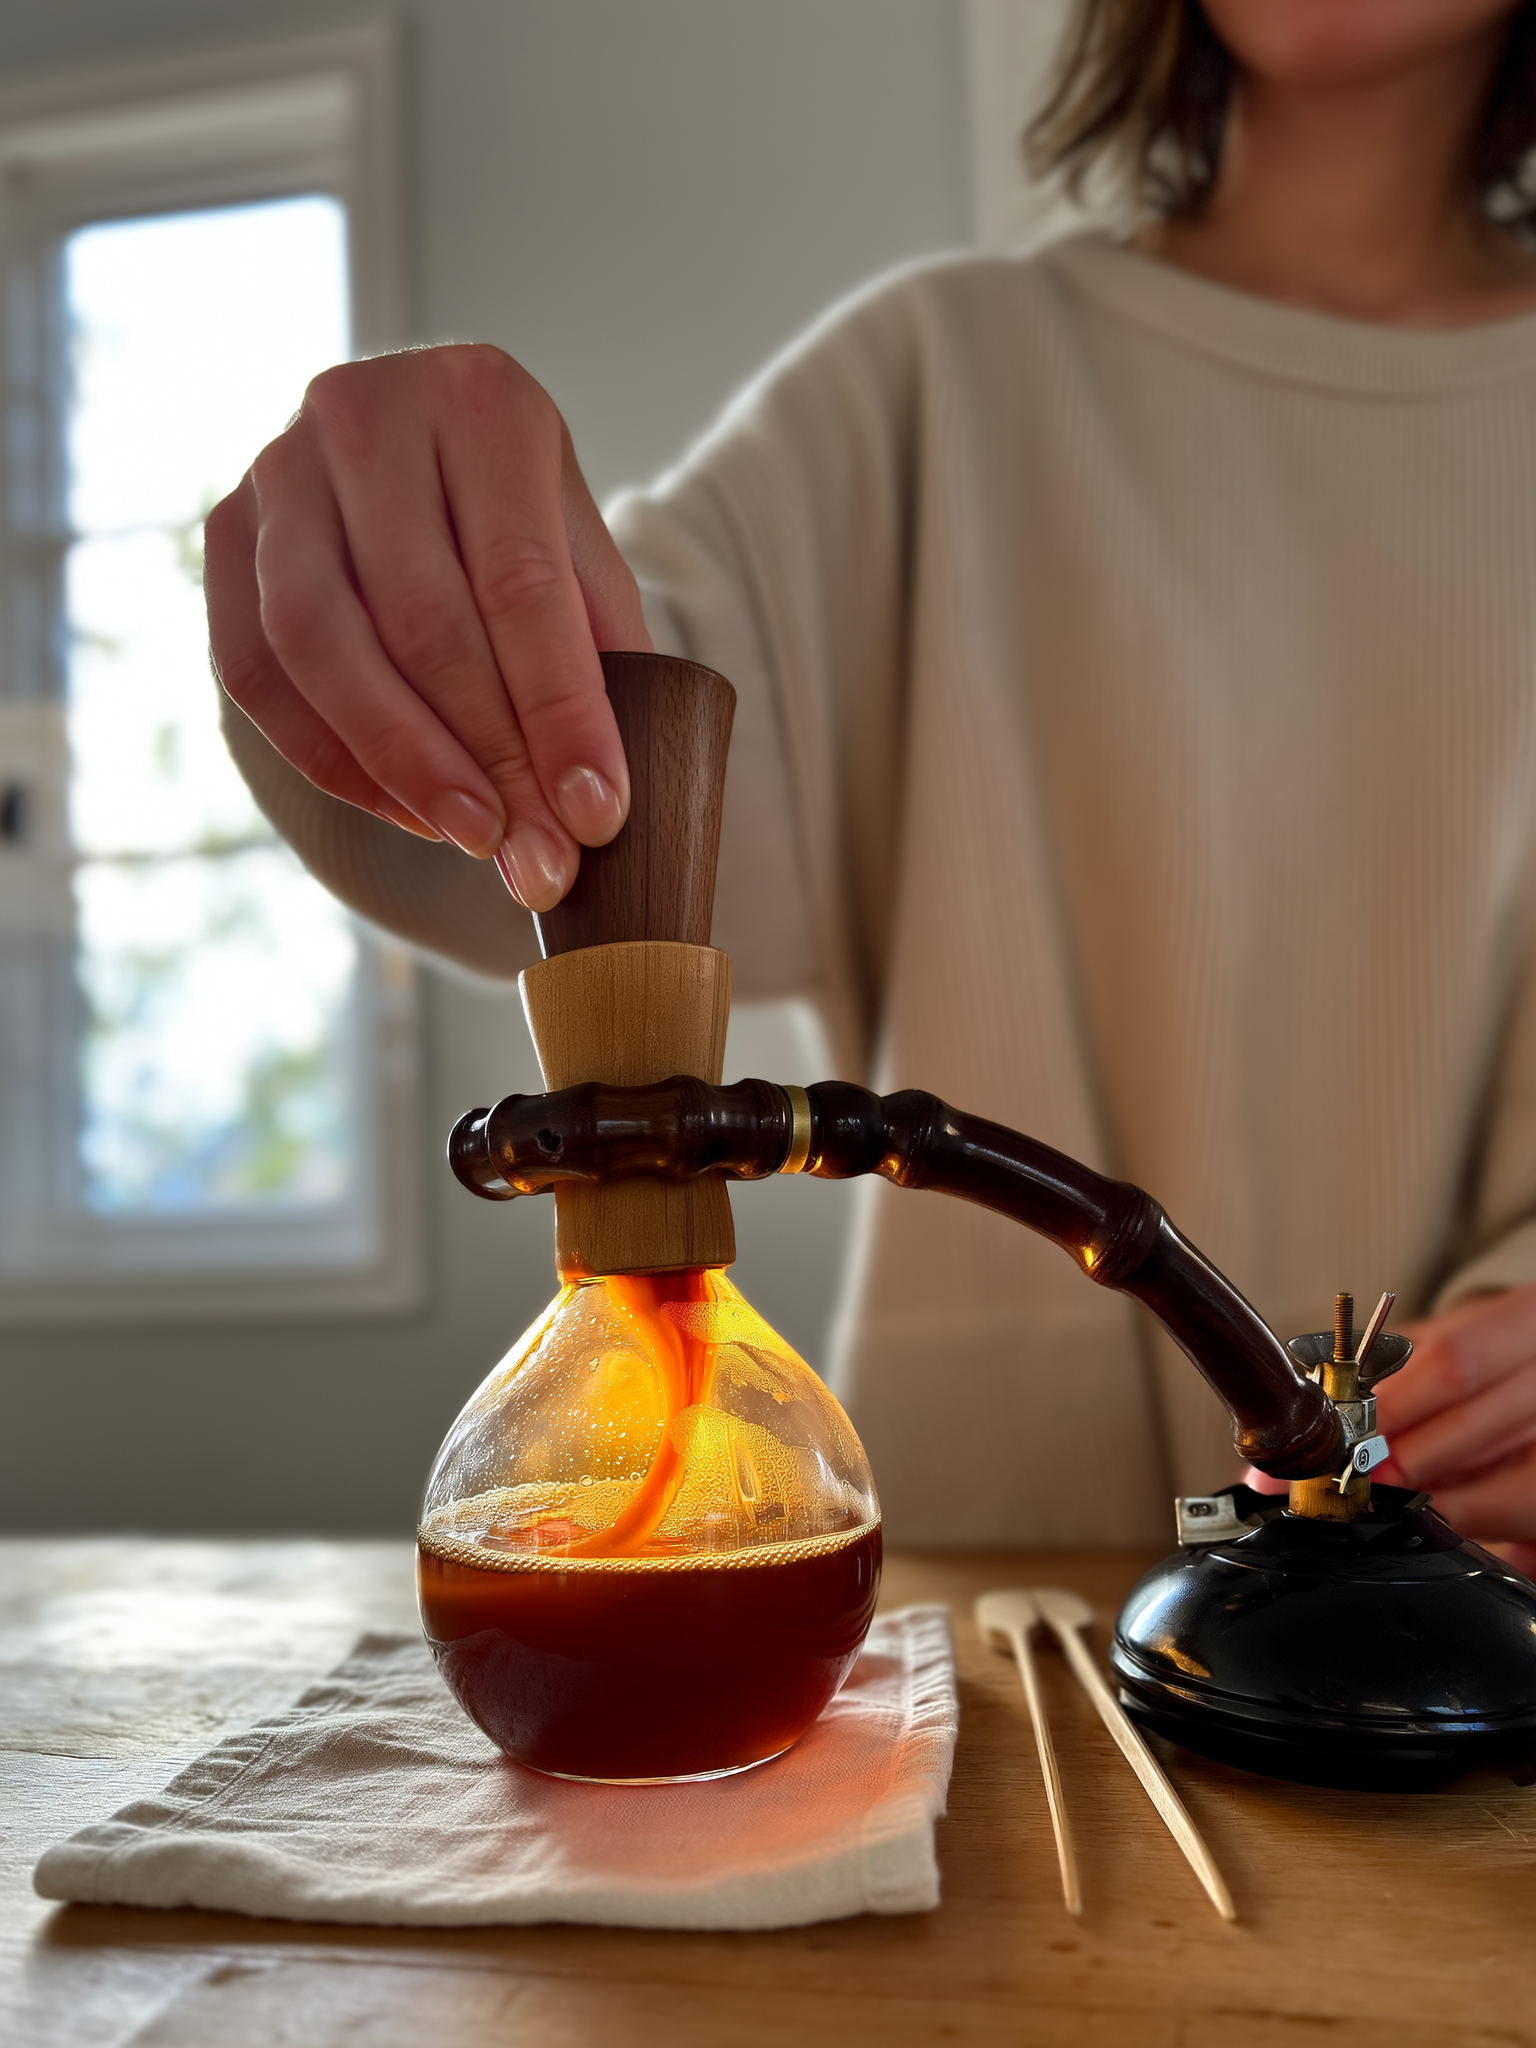
There’s a moment in siphon brewing where everything feels like a chemistry experiment — water climbing through a glass tube, coffee blooming in the upper chamber, then the satisfying pull as brewed coffee drops back down. If you’ve never tried it, that description probably sounds dramatic. If you have tried it, you already know exactly what I mean.
Siphon coffee is the kind of brewing method that makes guests stop and watch. But beyond the theater, it genuinely produces a remarkably clean, full-bodied cup that rewards careful technique.
If you’ve already got your pour-over routine dialed in and you’re looking for something that pushes your home barista skills further, siphon brewing might be exactly where you need to go next.
Why Siphon Coffee Captivates Serious Home Brewers
Most brewing methods are fairly forgiving. Siphon coffee isn’t.
That might sound like a warning, but it’s actually the appeal. The vacuum-driven process requires you to stay attentive from start to finish — managing heat, timing your stir, watching the drawdown. There’s no “set it and forget it” here.
The payoff is real, though. Because siphon brewing uses immersion followed by a vacuum-assisted drawdown, it produces a cup with exceptional clarity and sweetness. Subtle flavor notes that might get lost in a French press or muted by espresso pressure tend to shine clearly in a siphon-brewed coffee.
It’s the brewing method for when you want to slow down and actually taste what’s in your cup.
Essential Gear Before You Start
You don’t need an overwhelming amount of equipment, but what you do have matters.
The siphon itself: Look for a glass siphon pot with a 3–5 cup capacity. This size gives you enough brewing volume to dial in your ratio without wasting expensive beans during practice sessions. Hario Technica 5-Cup Syphon Coffee Maker
Heat source: You have a few options, each with different trade-offs:
– Alcohol burners are traditional and aesthetically beautiful, but the flame can be inconsistent
– Butane burners give you more heat control and work well for beginners
– Electric heating elements (like a halogen beam heater) offer the most precision and are ideal if you plan to brew siphon coffee regularly
For everyday home use, butane or electric is the more practical choice.
Grinder: A burr grinder capable of medium-fine settings is essential. Pre-ground coffee won’t work here — you need freshly ground beans for siphon brewing to reach its potential.
Filters: Cloth filters are the classic choice and produce the cleanest-tasting cup. Metal filters work well too but may allow slightly more sediment. Stock up on spares — cloth filters especially need regular replacement.
Timer and scale: Consistency is everything in siphon brewing. A kitchen scale and a simple timer make the difference between a great cup and a frustrating one.
Grinding and Water: Getting the Foundation Right
Siphon brewing is unforgiving when your grind or water is off, so take a moment to get these right before you even apply heat.
Grind size: Aim for medium-fine — slightly finer than a pour-over grind. Think of fine sea salt as a reference. Too coarse and you’ll get a thin, under-extracted cup. Too fine and you’ll over-extract, introducing bitterness.
Always grind immediately before brewing. Coffee goes stale faster than most people realize, and the flavor loss becomes especially obvious in siphon’s clean extraction style.
Water preparation:
– Use filtered water for the best results. Tap water with high mineral content can interfere with flavor and accelerate glass wear over time.
– Target a water temperature between 195–205°F (90–96°C) — just off the boil. Consistent temperature across sessions is what makes your results repeatable.
Coffee-to-water ratio: Start with 1:16 — so 25g of coffee to 400ml of water for a standard brew. This is a solid baseline. Once you’re comfortable with the process, you can adjust to taste.
Step-by-Step Siphon Coffee Brewing Routine
Here’s where the magic happens. Follow these steps in order and take your time.
Step 1: Fill the Lower Chamber and Prep the Filter
Pour your pre-heated water into the lower glass chamber. Using already-hot water speeds up the process and reduces thermal shock on the glass. Attach your filter (cloth or metal) to the upper chamber, making sure it’s centered and secure.
Step 2: Assemble and Apply Heat
Seat the upper chamber gently on top of the lower one — don’t press down hard yet. Apply your heat source to the lower chamber. Within 1–2 minutes, you’ll see water begin to rise through the tube into the upper chamber. This is the siphon effect in action, and yes, it stays satisfying every time.
Once most of the water has risen (a small amount stays in the lower chamber — that’s normal), seat the upper chamber firmly to create a seal.
Step 3: Add Grounds and Stir
Add your pre-weighed coffee grounds to the upper chamber and start your timer. Give the grounds one gentle but thorough stir within the first 10 seconds. The goal is to wet all the grounds evenly — think of it like blooming in a pour-over.
Don’t over-agitate. One good stir is enough. Excessive stirring disrupts the extraction and leads to inconsistent results.
Step 4: Maintain Heat and Time the Steep
Keep your heat at a moderate, steady level. You want the coffee to steep — not violently boil. Light bubbles along the edge of the upper chamber are fine; a rolling boil means your heat is too high.
Steep for 45–60 seconds, adjusting based on your taste results. Some lighter roasts benefit from the full 60 seconds; others might taste better closer to 45.
A second, brief stir at the 30-second mark is optional. If you try it, keep it gentle.
Step 5: Remove the Heat and Watch the Drawdown
At your target time, remove the heat source completely. The temperature drop creates a vacuum that pulls the brewed coffee down through the filter into the lower chamber. This takes about 30–40 seconds, and the gentle gurgling sound it makes is honestly one of the most satisfying things in home brewing.
Step 6: Remove the Upper Chamber and Serve
Once the gurgling stops and the drawdown is complete, gently twist and remove the upper chamber. Pour your siphon coffee immediately — it’s at peak flavor right now, and the clarity and aroma are at their best.
Troubleshooting Common Siphon Coffee Mistakes
Even experienced brewers run into issues with siphon coffee. Here’s what to look for:
Bitter or harsh coffee:
– Grind may be too fine — try stepping coarser by one setting
– Steep time may be too long — reduce by 5–10 seconds
Weak, flat, or thin coffee:
– Grind may be too coarse — step finer
– Water temperature might be dropping too low during the steep; ensure your heat source maintains consistent warmth
Uneven extraction or channeling:
– Usually caused by uneven heat distribution; if you’re using an open flame, rotate the lower chamber slightly to spread heat more evenly
– Also check that your filter is centered properly
Coffee not drawing down cleanly:
– Check your filter seal — a loose or misaligned cloth filter will cause the drawdown to stall
– If using a cloth filter, it may be clogged with oils from previous brews; a thorough rinse and occasional deep clean with hot water helps
Choosing the Right Beans for Siphon Brewing
Siphon’s clean, immersion-style extraction makes it one of the most revealing brewing methods you can use. That’s a good thing — if you choose the right beans.
Roast level: Light to medium roasts perform best. They carry the nuanced flavor notes — florals, fruit, citrus, tea-like qualities — that siphon coffee showcases beautifully. Dark roasts tend to taste flat or smoky through a siphon, losing complexity rather than gaining it.
Process: Washed-process coffees are a natural match for siphon brewing. Their cleaner flavor profile and bright acidity come through with exceptional clarity. Natural-process coffees can work beautifully too, but their fruitiness can feel heavy if your steep time is even slightly long.
Origins to try:
– Ethiopian — floral, jasmine, citrus; extraordinary in a siphon
– Kenyan — bold berry notes with wine-like acidity; one of my personal favorites for this method
– Colombian or Costa Rican — approachable, balanced, great for dialing in technique before experimenting further
If you’re used to brewing these origins in a French press or espresso, siphon will genuinely surprise you with how differently (and often how much better) the same beans taste.
Keeping Your Siphon Equipment in Good Shape
Siphon gear is an investment — both financially and in terms of the time you put into learning the method. Take care of it and it’ll last for years.
After every brew:
– Rinse glass components immediately with warm water to prevent coffee oil buildup
– Rinse cloth filters thoroughly under running water and store them submerged in clean water in the fridge (this prevents odor and keeps them fresh)
– Inspect rubber gaskets and seals for wear — a degraded seal will affect your drawdown
Regular maintenance:
– Deep clean cloth filters every week or two with hot water and a light backflush; replace them every 3–6 months depending on frequency of use
– Run a diluted white vinegar solution through your lower chamber occasionally to address any mineral scale from your water supply
– Inspect the glass for hairline cracks before each use — thermal stress can cause damage over time, especially if you’re using high heat or cold water in a hot chamber
Storage:
– Keep glass chambers in a dry, cool spot away from direct sunlight
– Don’t store cloth filters compressed or folded — let them air dry flat or keep them submerged as mentioned above
Making Siphon Coffee Part of Your Regular Brew Ritual
Here’s the honest truth about siphon coffee: it’s not a weekday morning method unless you genuinely have time to spare. The full process takes 10–15 minutes from setup to pour, and it requires your attention the entire time.
That’s not a flaw. It’s the point.
Siphon coffee is ideal for weekend mornings when you want a reason to slow down, or for those evenings when you want a late-afternoon cup that becomes an experience rather than just a caffeine delivery mechanism.
Once you’ve brewed it enough times that the steps feel natural — once the stir, the timing, and the drawdown feel like second nature — you’ll find that the process itself becomes genuinely calming. There’s something meditative about watching the physics of coffee brewing play out in real time.
And when your guests watch you brew it? Let’s just say it makes an impression.
Start with your grind and your ratio. Nail the stir. Watch the drawdown. Then taste carefully and adjust. That’s the siphon coffee routine in its simplest form — and it’s one of the most satisfying things you can do as a home brewer.