TL;DR
- AeroPress brews a smooth cup in under 4 minutes, making it ideal for busy mornings.
- You need an AeroPress, filters, a burr grinder, kettle, and optional scale to get started.
- Master the 3-minute standard method and adjust grind size or water temperature to dial in your perfect cup.
AeroPress Routine for a Quick Daily Cup
There are mornings when you want a beautifully crafted coffee experience. And then there are mornings when you just need a great cup—fast. The AeroPress was built for exactly that second kind of morning.
If you haven’t tried it yet, the AeroPress is a simple plastic brewing device that uses air pressure to push hot water through coffee grounds. It sounds almost too basic to produce something special. But home baristas around the world swear by it, and once you build a consistent routine around it, you’ll understand why.
Here’s everything you need to know to make the AeroPress your go-to daily brew.
Why AeroPress Is Perfect for Busy Mornings
The biggest selling point of the AeroPress is speed. From boiling your kettle to pressing your first sip, you’re looking at under four minutes total. For a method that produces genuinely smooth, low-acidity coffee, that’s remarkable.
It’s also one of the most forgiving brewing devices out there. Unlike pour-over, where small technique errors can noticeably affect the cup, the AeroPress is remarkably tolerant of slight variations in water temperature, grind size, and timing. That consistency matters when you’re half-awake on a Tuesday morning.
And then there’s the portability. The AeroPress packs down small enough to fit in a carry-on or camping bag. The AeroPress Go model AeroPress Go Travel Coffee Press takes this even further with a built-in travel mug. Whether you’re at home or away, your brewing routine travels with you.
What You Need: AeroPress Gear Essentials
You don’t need much to get started, which is part of the appeal. Here’s the short list:
- AeroPress coffee maker AeroPress Original Coffee Press (original or Go model, depending on your needs)
- Paper or metal filters — paper filters come included, but a reusable metal filter AeroPress metal reusable filter is worth considering if you prefer a fuller-bodied cup
- Burr grinder — this is the most important gear upgrade you can make; even a budget hand grinder produces far more consistent results than a blade grinder
- Kettle — a temperature-controlled kettle Fellow Stagg EKG electric kettle is ideal (target 195–205°F / 90–96°C), but a standard kettle works fine if you let it rest for 30–45 seconds off the boil
- Digital scale — optional, but even a basic kitchen scale dramatically improves your consistency from cup to cup
If you’re just starting out, don’t feel pressured to buy everything at once. An AeroPress, a bag of pre-ground coffee (medium-fine grind), and a regular kettle will get you an excellent cup right away.
Step-by-Step: The Standard 3-Minute AeroPress Brew
Once you’ve done this a few times, the whole process becomes muscle memory. Here’s the standard method, broken down clearly.
What you’ll need for this brew
- 17–18g of coffee (medium-fine grind)
- ~200ml of hot water (195–205°F / 90–96°C)
- AeroPress with paper filter
The process
Step 1: Rinse your filter.
Place a paper filter into the filter basket and rinse it thoroughly with hot water. This removes the papery taste that can otherwise bleed into your cup and pre-warms your mug.
Step 2: Add your coffee.
Lock the filter basket onto the bottom of the AeroPress chamber. Set it on top of your mug (make sure the mug is sturdy enough to hold the AeroPress while you press). Add your 17–18g of ground coffee to the chamber.
Step 3: Bloom.
Start your timer. Pour just enough hot water to saturate all the grounds—roughly 30–40ml. Give it a quick stir to ensure all grounds are wet. Let it sit for 30 seconds. This bloom allows CO₂ to escape from freshly roasted coffee, which makes the rest of your extraction cleaner and more even.
Step 4: Add the remaining water.
After 30 seconds, pour the rest of your water (up to about 200ml total) in slow, circular motions. Aim to finish pouring around the 1-minute mark on your timer.
Step 5: Stir and wait.
Give the slurry two or three gentle stirs, then place the plunger on top to create a light seal. Let it steep for another 20–30 seconds.
Step 6: Press.
Apply gentle, steady downward pressure on the plunger. Take 30–40 seconds to press fully. You should feel moderate resistance throughout. When you hear the first hiss of air, stop pressing—that’s your signal that you’ve extracted everything worth extracting.
Total brew time: right around 3 minutes. That’s it.
Flavor Profile & Grind Size Tips
The AeroPress produces a cup that sits somewhere between a pour-over and a French press. You get the cleaner, brighter character of paper filtration, but with a bit more body and richness than a typical pour-over. Many people find it the most balanced of all manual brew methods.
Grind size matters more than most beginners expect. A medium-fine grind—similar to what you’d use for a Chemex, maybe just slightly finer—is the sweet spot for the standard method. Here’s a simple guide:
- Too coarse → under-extracted, weak, and watery
- Too fine → over-extracted, bitter, and sometimes gritty
- Just right (medium-fine) → balanced, smooth, with pleasant sweetness
If you’re dialing in a new bag of coffee, adjust grind size first before changing anything else. One small step finer or coarser can make a significant difference in your cup.
Want to experiment? Try adjusting your brew time rather than your grind:
– A shorter total brew time (under 2:30) gives you a lighter, cleaner cup
– A longer brew time (over 3:30) builds more body and depth
– A finer grind with faster press = espresso-adjacent concentrate
Quick Variations for Different Mornings
One of the best things about the AeroPress is how easily you can switch up the experience without buying new gear. Here are three variations worth trying:
The Inverted Method
Instead of setting the AeroPress chamber on your mug, flip it upside down so the plunger faces down. Load your grounds and water from the top, let it steep for 1.5–2 minutes, then carefully flip the whole assembly onto your mug and press. The inverted method gives you more control over steep time and tends to produce a richer, bolder cup. It does require a steady hand when flipping—practice over the sink the first couple of times.
Iced AeroPress
When it’s warm outside or you want something refreshing, brew a concentrated shot using half the normal amount of water (around 100ml instead of 200ml). Press it directly over a glass packed with ice. The hot concentrate hits the ice and chills instantly, diluting to perfect strength as it cools. It’s not quite cold brew, but it’s similar in character and takes three minutes instead of twelve hours.
Double Shot Routine
Need two cups? The AeroPress brews one cup at a time, but cleanup is so quick—30 seconds—that you can run two back-to-back brews in under eight minutes total. No extra gear, no extra mess. Just rinse and repeat.
Common AeroPress Mistakes to Avoid
Most AeroPress problems come down to a few repeatable errors. Watch out for these:
Pressing too fast. A hard, fast plunge forces water through the grounds unevenly and can push sediment into your cup. Slow and steady pressure gives every ground particle proper contact time and produces a cleaner result.
Water temperature extremes. Water over 210°F / 99°C can scorch light roasts and bring out harsh bitterness. Water under 180°F / 82°C won’t fully extract the coffee’s sweetness. The ideal window is 195–205°F / 90–96°C. If you don’t have a temperature-controlled kettle, boil your water and let it cool for 45–60 seconds. That naturally brings it into range.
Skipping the bloom. Those 30 seconds feel unnecessary when you’re in a rush, but they genuinely matter—especially with freshly roasted coffee. Without the bloom, CO₂ escaping during extraction creates an uneven, inconsistent brew. It’s worth the half minute.
Using stale coffee. The AeroPress is a great brewer, but it can’t save over-aged beans. Whole bean coffee stays fresh for 2–3 weeks after roasting; pre-ground coffee starts losing character within days. Grind fresh when you can.
Make It Your Daily Ritual
The AeroPress is one of those tools that rewards consistency. Once you land on a grind size, a water temperature, and a brew time that produces a cup you love, write it down and repeat it every morning. Within a week, the whole routine becomes automatic.
The cleanup is genuinely one of the best parts: remove the filter basket, hold the AeroPress over your compost bin or trash, push the plunger all the way through, and the used coffee puck pops out cleanly. Rinse the chamber and plunger under the tap. Thirty seconds, done.
That combination of speed, consistency, and easy cleanup is why the AeroPress has earned such a loyal following among home brewers. It doesn’t ask much of you in the morning—and in return, it reliably gives you something worth waking up for.
New to manual brewing? Check out our French Press Brewing Guide for another beginner-friendly method, or head to our Pour-Over Basics post if you want to explore the lighter, brighter end of the coffee spectrum.
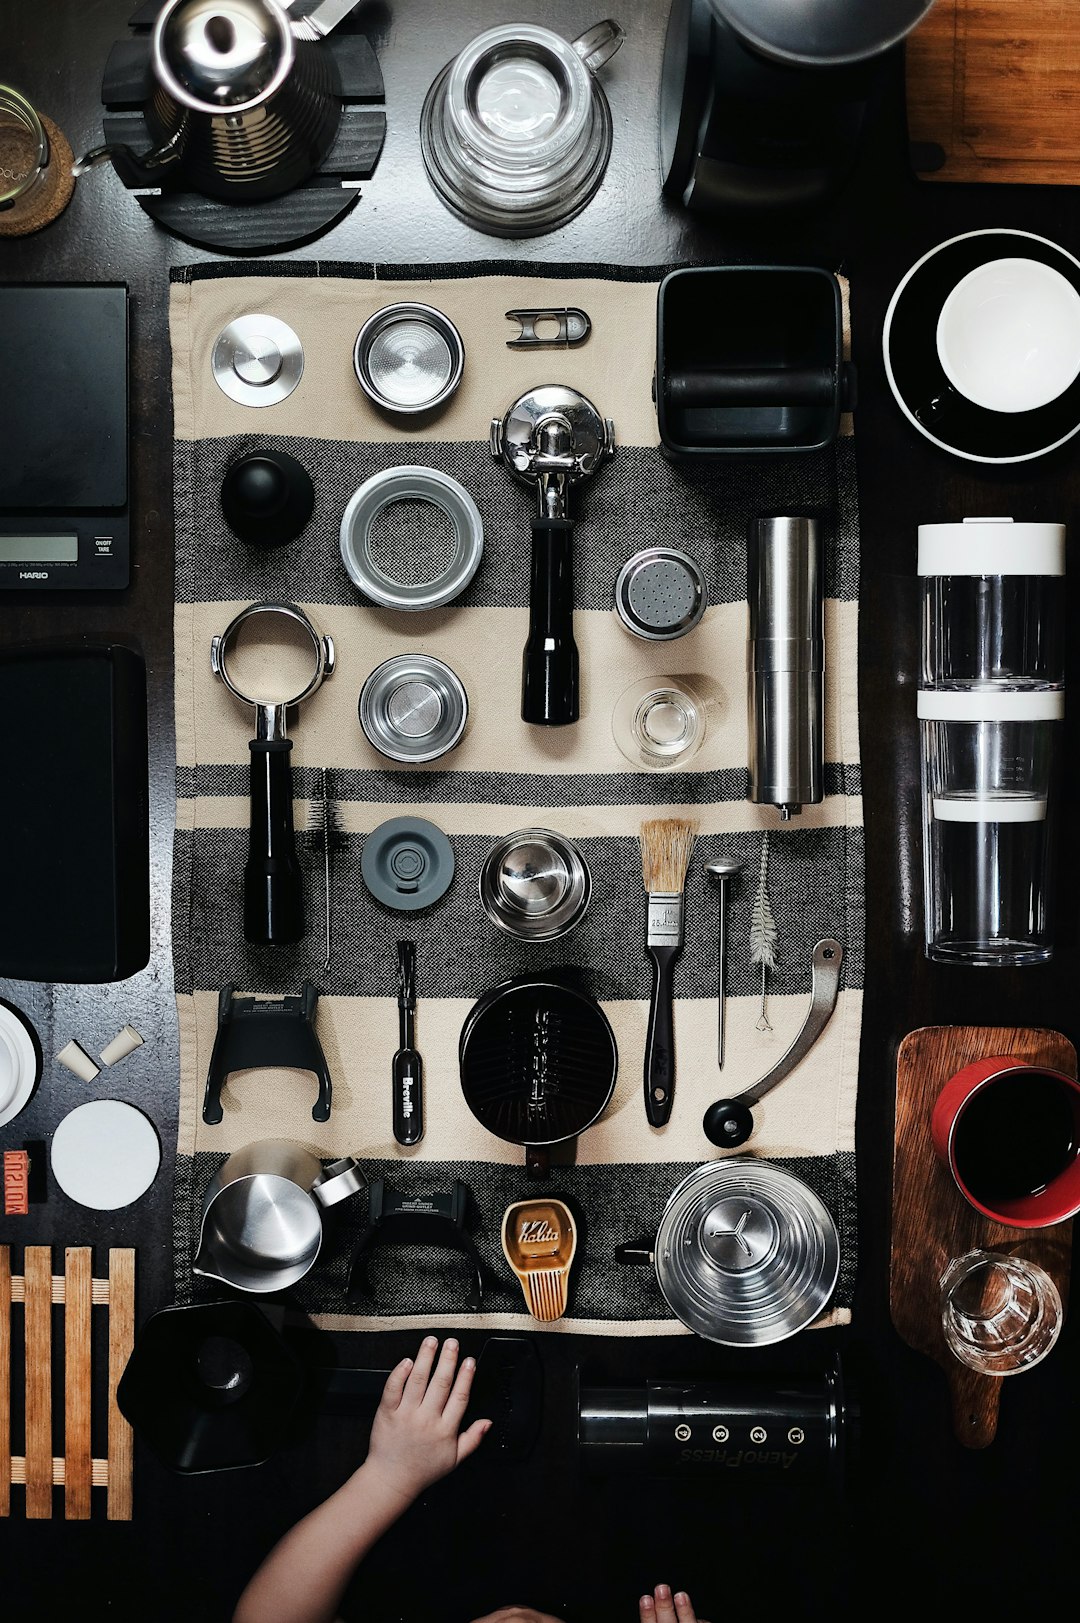
Photo by Kristian Ryan Alimon on Unsplash