
TL;DR
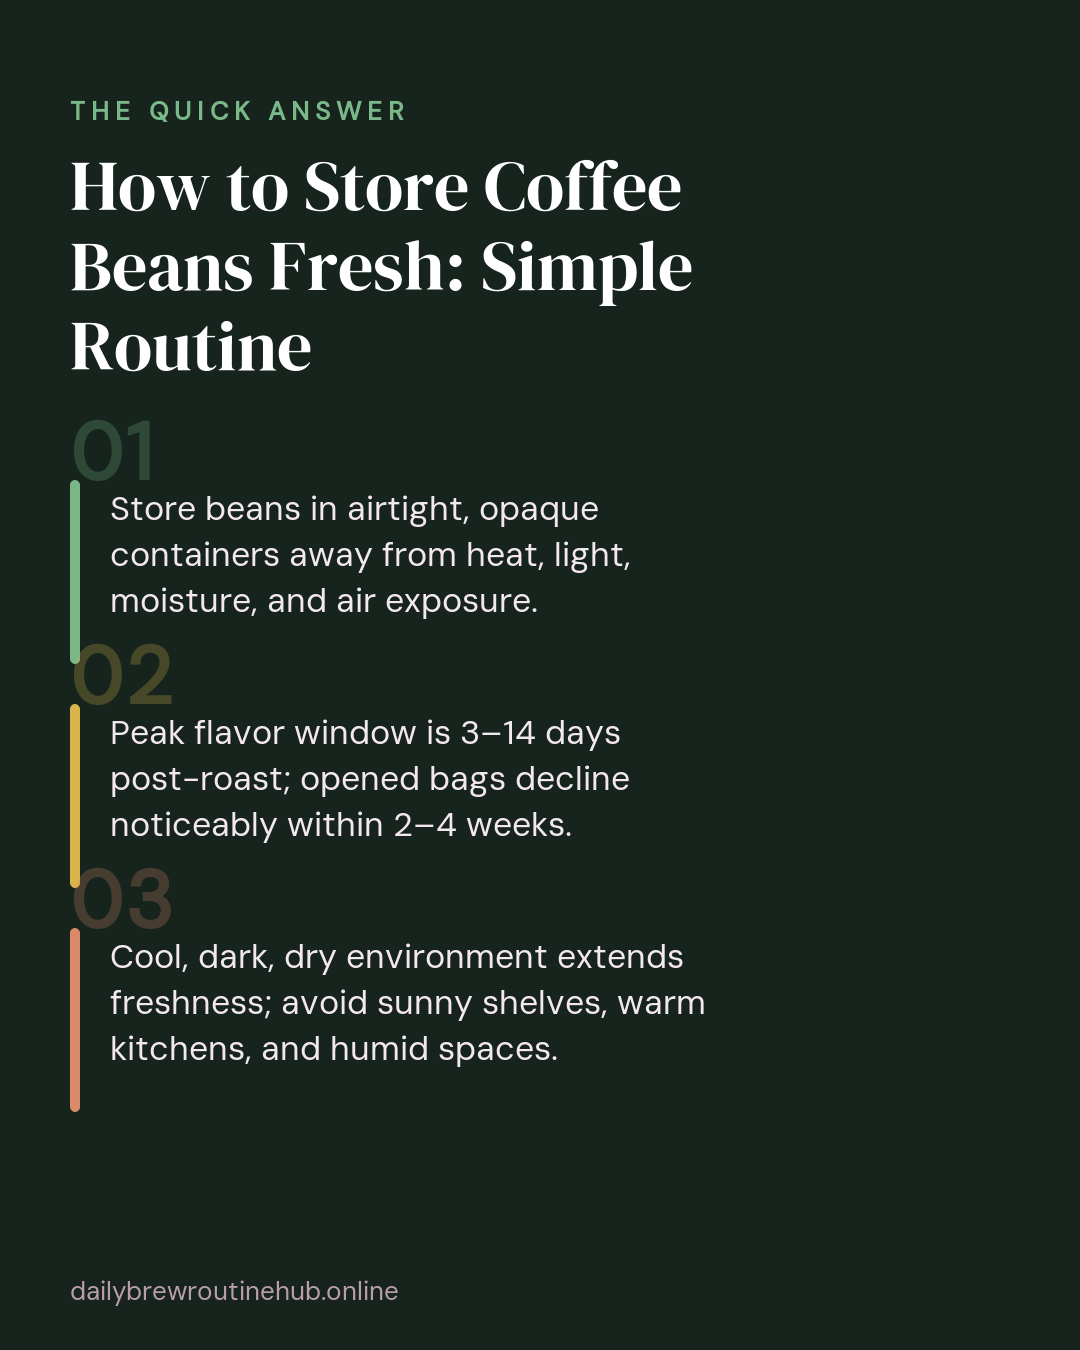
- Store beans in airtight, opaque containers away from heat, light, moisture, and air exposure.
- Peak flavor window is 3–14 days post-roast; opened bags decline noticeably within 2–4 weeks.
- Cool, dark, dry environment extends freshness; avoid sunny shelves, warm kitchens, and humid spaces.
Bean Storage Routine to Keep Coffee Fresh Longer
You finally found a bag of single-origin Ethiopian you love. The roast date is fresh, the aroma when you tear open the bag is incredible — floral, a little fruity, maybe a hint of citrus. Two weeks later, you brew it and… it tastes flat. Muted. Nothing like that first cup.
What happened? Almost certainly, storage.
Most home brewers spend real thought on their grinder settings and water temperature but give almost no attention to how they’re storing their beans between uses. This guide walks you through a simple, practical bean storage routine that keeps your coffee tasting the way it was meant to taste — from the first cup to the last.
Why Coffee Storage Matters for Freshness
Coffee beans aren’t shelf-stable in the way most pantry staples are. Once roasted, beans are in a slow race against oxidation, and once a bag is opened, that race speeds up considerably.
Most specialty roasters agree that beans hit their peak flavor window somewhere between 3 and 14 days after roast, then gradually decline from there. Once the bag is open and exposed to the elements, you’re looking at noticeable flavor loss within 2 to 4 weeks — sometimes faster depending on your kitchen environment.
That means every careless storage habit — leaving beans in an open bag, sitting on a sunny shelf, or next to the stove — is quietly stealing flavor from your morning cup. The good news: with a few consistent habits, you can extend that peak window meaningfully without spending a lot of money.
The Real Enemies: Air, Light, Heat, and Moisture
Before building any storage routine, it helps to understand exactly what’s working against you. There are four main culprits:
Oxidation from air is the biggest one. Coffee beans contain volatile aromatic compounds and natural oils that give each roast its distinctive character. When exposed to oxygen, those compounds break down — a process called oxidation. The result is that bright, complex coffee slowly turns dull and cardboard-like.
UV light does its own damage, degrading the cellular structure of the bean and accelerating the rate at which those aromatics disappear. This is why storing beans in a clear glass jar on a bright countertop, while aesthetically charming, is actually one of the worst things you can do for freshness.
Heat speeds up almost every chemical reaction happening inside the bean — including the bad ones. Storing beans near a stove, oven, or even a sunny window raises the ambient temperature enough to noticeably shorten their shelf life.
Moisture is the sneakiest enemy. Even moderate humidity can cause beans to absorb water, which dilutes flavor, encourages mold, and creates the kind of musty off-notes that make a cup of coffee genuinely unpleasant rather than just boring.
The storage solution, then, is basically the inverse of these four threats: cool, dark, dry, and airtight.
Best Containers for Storing Coffee Beans at Home
Not all containers are created equal when it comes to coffee storage. Here’s how to think about your options:
Airtight canisters with one-way CO₂ valves are the gold standard for most home brewers. Freshly roasted beans naturally off-gas CO₂ for several days after roasting — a good sign of freshness, but a problem in a completely sealed container. One-way valve canisters let that CO₂ escape without allowing outside air to enter. If you’re buying a dedicated coffee storage container, look for this feature. The Fellow Atmos Vacuum Canister and similar vacuum-seal canisters actively remove air each time you close the lid, which takes protection a step further.
Opaque or dark-tinted containers address the light problem. Dark ceramic canisters or UV-blocking glass jars prevent light from reaching the beans while still letting you monitor how full the container is. If your container is clear, keep it inside a cabinet rather than on an open shelf.
Vacuum-sealed bags are ideal for longer-term freezer storage (more on that below). Many specialty roasters already package beans in resealable bags with one-way valves, and those original bags work reasonably well if you press out excess air before resealing.
What to avoid:
- Clear plastic containers — no UV protection, and plastic can absorb and transfer odors
- Original paper or foil bags left loosely rolled shut — fine for a day or two, but not a real storage solution
- Containers that don’t seal completely — a loose-fitting lid might as well not be there
If you’re just getting started and don’t want to invest in specialty gear yet, a clean, dry mason jar with a tight-fitting lid stored inside a dark cabinet is a genuinely decent stopgap. It’s not perfect, but it beats most people’s current setup.
Room Temperature vs. Freezer: Which Is Right for You?
The freezer debate is one of the most common arguments in home coffee circles. Here’s a practical breakdown:
Room temperature storage (roughly 68–72°F / 20–22°C) is the right choice for beans you plan to use within 2 to 3 weeks. Keep your container in a cool, dark cabinet — not on the counter near the coffee maker if that spot gets warm or sunny. This method is convenient, requires no thawing, and keeps the beans in the best possible condition for everyday grinding.
Freezer storage is genuinely useful for long-term preservation — if done correctly. At 0°F / -18°C or below, properly sealed beans can maintain quality for 6 months or longer. This makes freezing a smart option when:
- You bought a large quantity at a great price
- You received a gift bag you won’t get through quickly
- You’re storing multiple single-origin bags to taste side by side later
The critical rules for freezer storage:
- Use truly airtight, moisture-proof bags. Regular zip-lock bags let in enough moisture to cause damage. Purpose-made vacuum-sealed bags are strongly preferred.
- Freeze in single-use portions. Divide beans into weekly-use amounts before freezing so you only thaw what you need.
- Thaw completely before opening. This is non-negotiable. If you open a bag of frozen beans immediately, condensation forms on the cold bean surface — and that moisture undoes a lot of the good you were trying to do. Leave the sealed bag at room temperature for a few hours until fully thawed.
- Never refreeze. Once a portion is thawed, treat it exactly like a freshly opened bag at room temperature. Repeated freeze-thaw cycles degrade the bean’s cellular structure and hurt both flavor and grind consistency.
The One-Week Pull Method: A Daily Routine That Actually Works
Theory is useful, but what does a practical day-to-day bean storage routine actually look like? Here’s what works well:
Buy in smaller batches, more frequently. It’s tempting to stock up, but buying only what you’ll realistically drink in 1 to 2 weeks is genuinely one of the most impactful storage decisions you can make. Fresher purchase dates mean more flavor, full stop.
Create a two-tier system. Keep your main batch sealed in your best airtight container inside a cool, dark cabinet. Separately, portion out about 100–150 grams into a smaller working jar that lives on or near your grinder. This working jar is what you open multiple times a day.
Why bother with the split? Every time you open your main storage container, you’re letting air in and letting aromatics out. A small working jar limits that exposure to your main batch and keeps daily handling simple.
Replace your working jar once a week. Every Sunday (or whatever day fits your routine), refill the small working jar from the main batch and reseal the main container tightly. This keeps the beans in your daily jar genuinely fresh rather than sitting exposed for weeks.
Label everything with the roast date. This one sounds tedious, but it takes ten seconds and it changes your relationship with freshness. A simple strip of masking tape on the container with the roast date written in marker tells you exactly where you are in the flavor window. No more guessing whether that bag has been open for two weeks or two months.
Signs Your Beans Have Gone Stale — and What to Do
Even with good habits, sometimes you end up with beans that have passed their best. Here’s how to recognize it:
- Flat, muted flavor with no brightness, no sweetness, and no aroma is the most obvious sign. Fresh coffee has dimension; stale coffee just tastes like hot brown water.
- A sour or musty smell — distinct from the normal roasted coffee scent — usually indicates moisture damage or advanced age.
- Dull, powdery grounds that don’t seem to bloom when you pour water over them in a pour-over are a subtle but reliable indicator.
Stale beans don’t have to go straight to the bin. A few practical uses:
- Cold brew is the most forgiving method for older beans. The slow, cold extraction mellows harsh or flat notes in a way that hot brewing can’t.
- Espresso blends better with slightly older beans than lighter roasts do — the rest period after roasting is actually important for espresso, and beans that are 2–4 weeks old often pull more balanced shots than brand-new ones.
- Composting spent grounds returns nutrients to your garden. Some home brewers also use dry grounds to scrub pots or deodorize the fridge.
Stale doesn’t mean useless — it just means adjust your expectations and your brew method.
Build Your Bean Storage Routine This Week
You don’t need a major overhaul to get meaningful results. Here’s a three-step starting point you can put in place today:
-
Get one good airtight container. It doesn’t have to be expensive — a simple ceramic canister with a silicone-sealed lid stored in a dark cabinet will outperform an open bag on the counter every time. If you want to invest more, a one-way valve canister is worth it.
-
Check your current beans’ roast date. If the bag doesn’t have one printed, that’s useful information about the roaster. Going forward, buying from roasters who print roast dates (not just “best by” dates) keeps you in control of your freshness window.
-
Start labeling and pull dates. Tape a strip of masking tape on every container with the roast date. Refill your working jar once a week. These two habits alone will noticeably improve the consistency of your daily cup.
Seal, label, and protect. Three habits, one better cup every morning.
Have a storage method that’s worked well for you — or one that went wrong in a surprisingly smelly way? I’d genuinely like to hear about it. Drop a comment below.