TL;DR
- Kalita Wave's flat-bottom design prevents channeling, delivering consistent extraction every brew.
- Wave filters create even water flow and let more coffee oils through for a balanced cup.
- The #185 size is most versatile for home brewing; pre-rinse filters to preheat the brewer.
Kalita Wave Routine: The Flat-Bottom Method for Consistent Pour-Over
If your pour-overs taste different every single morning even though you’re doing the same thing, the problem probably isn’t you — it’s your brewer’s geometry.
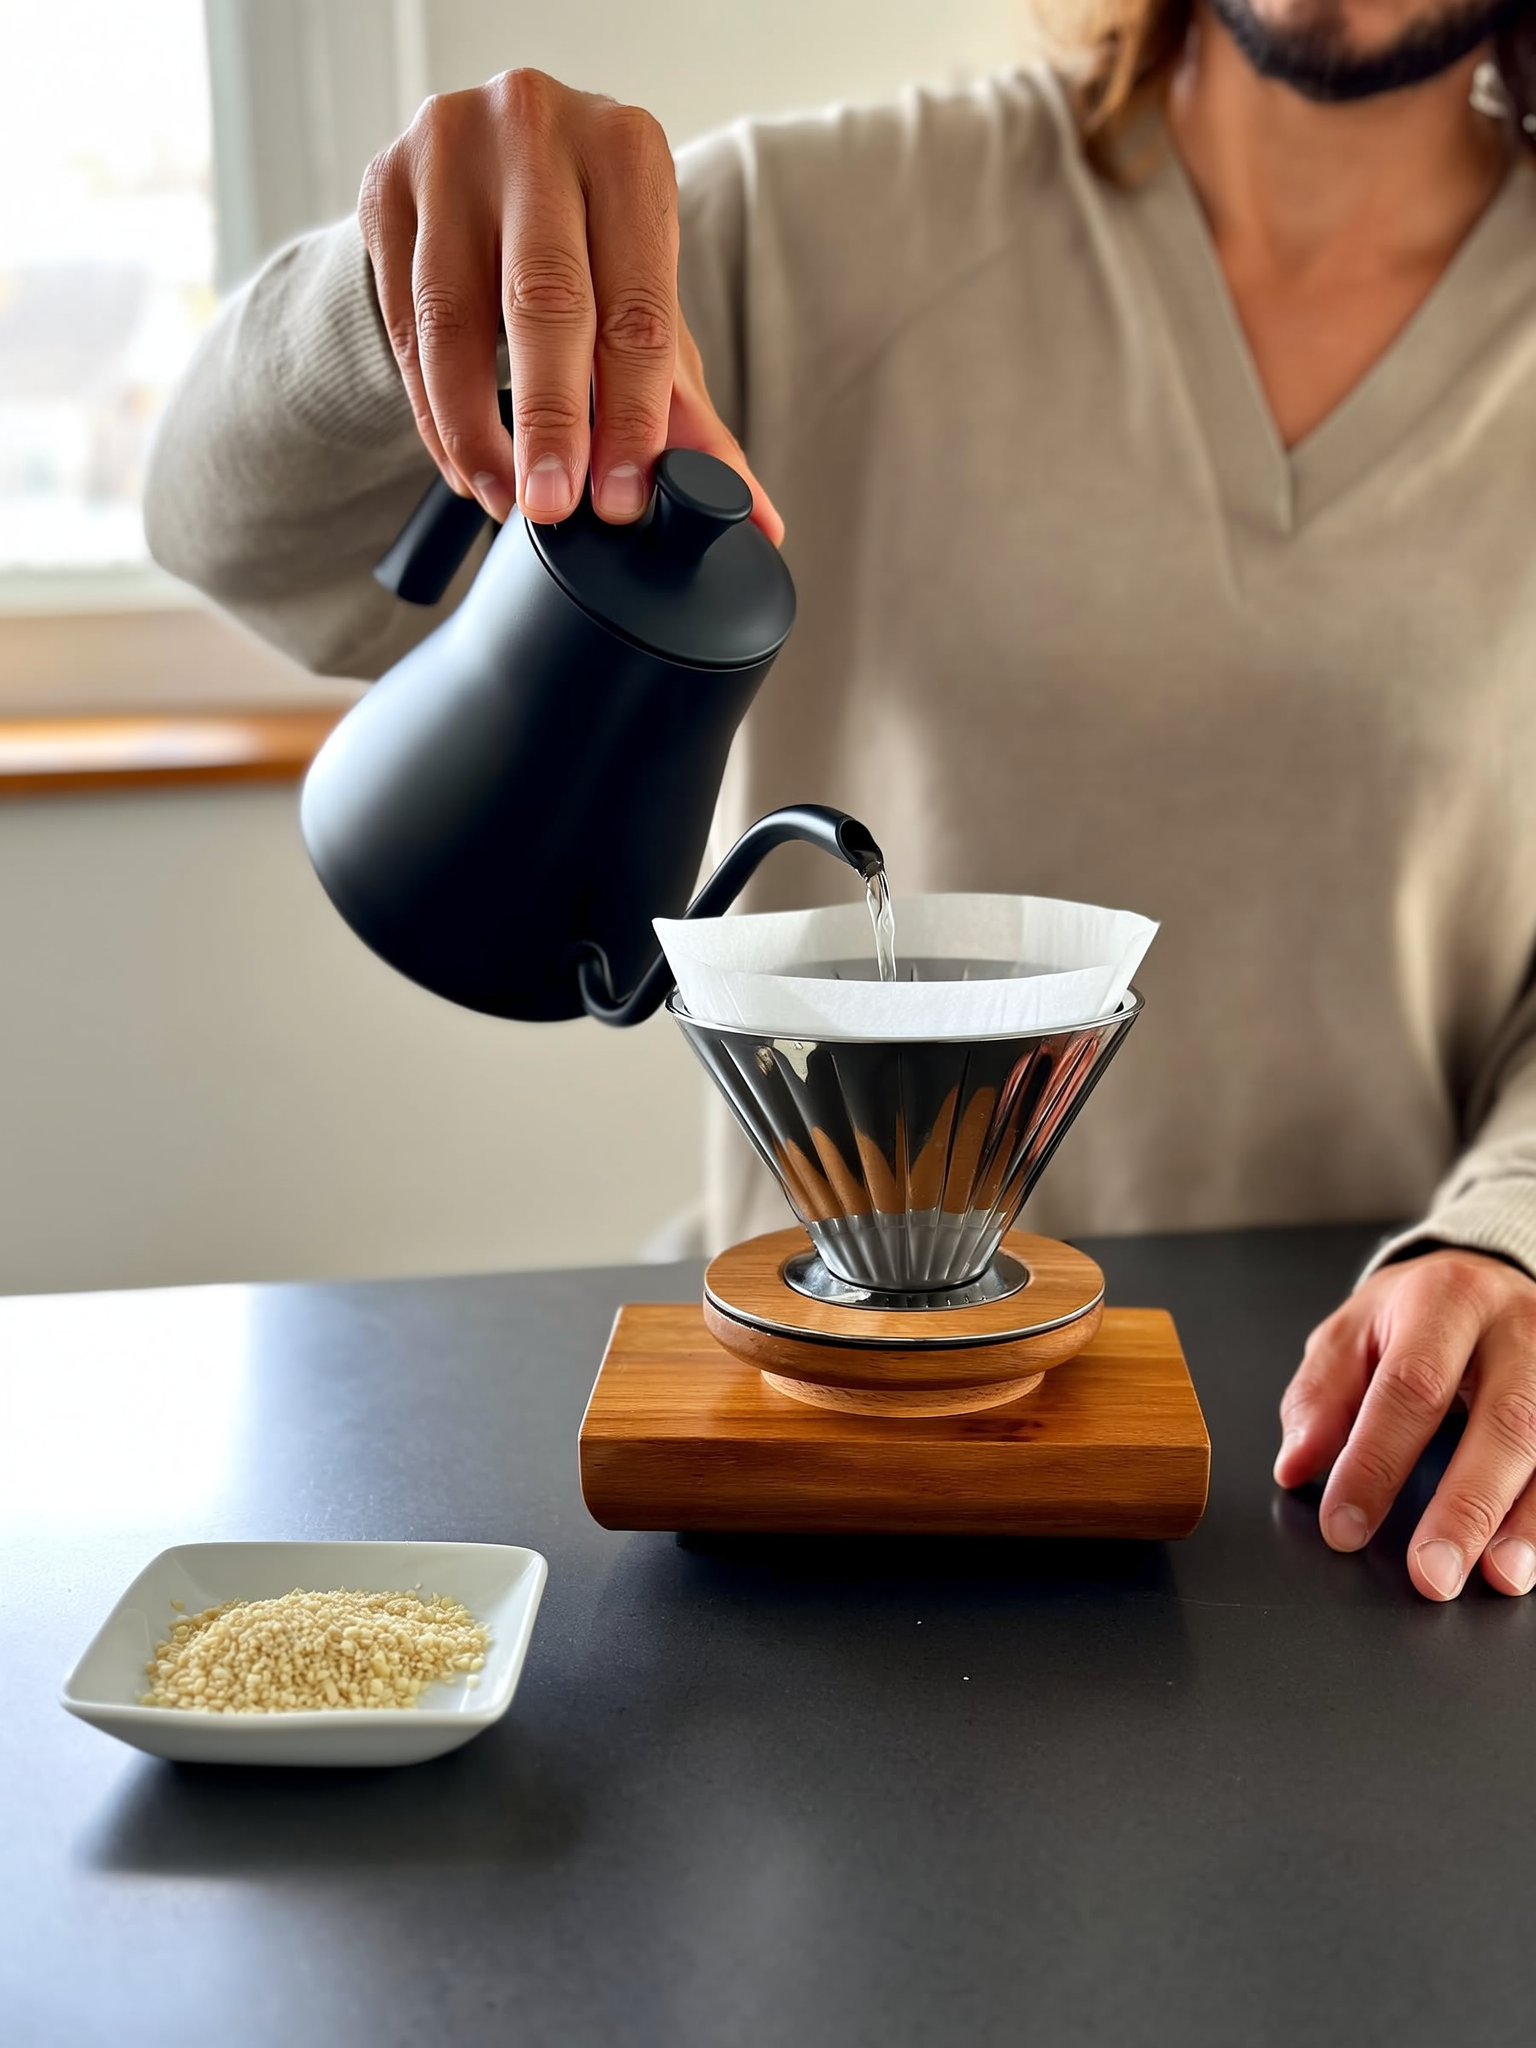
The Kalita Wave’s flat-bottom design fixes this almost silently. Instead of water racing through a cone and finding the path of least resistance, it spreads evenly across the entire coffee bed before draining through three small holes. That one design choice is why so many home brewers — from total beginners to seasoned enthusiasts — reach for a Kalita Wave when they want a reliable, repeatable cup without heroic technique.
Here’s the full routine, plus everything you need to know about why it works.
Why the Kalita Wave Stands Out
Most pour-over brewers use a cone shape. Cones work, but they create a real risk: water tunnels straight down through the center of the grounds — a problem called channeling — leaving the outer edges under-extracted. The result is a cup that tastes uneven, often sour at the edges and bitter in the middle.
The Kalita Wave sidesteps this entirely. The flat bottom means water sits briefly across the entire coffee bed before draining, driving up sweetness and producing a consistently balanced cup. Three small drainage holes at the base restrict flow just enough to keep the brewer forgiving without making it slow or frustrating to use.
Specialty coffee retailers and roasters started recommending it heavily in the early 2010s because the extraction consistency of flat-bottom brewers simply stood out compared to cone alternatives. That reputation has stuck — and for good reason.
Understanding the Kalita Wave’s Design
Two things make this dripper unique: the flat bottom and the wave filter.
The flat bottom creates a wider, more even contact zone between water and coffee grounds. Rather than channeling downward, water disperses across the bed and exits through three small holes. This geometry is especially well-suited to medium roasts, where balance and sweetness are the main flavor goals.
The wave filter is equally important. The filter has 20 accordion-like ridges (waves) that press against the dripper’s internal wave pattern, limiting the contact surface between filter and dripper walls. This allows water to flow evenly at the right rate and, compared to flat filters that sit flush against glass or ceramic, lets more of the coffee’s natural oils and body come through in the cup.
One practical note on filters: Kalita’s own filters are thin enough that pre-rinsing to remove paper taste is often unnecessary. That said, a quick rinse still helps preheat your brewer, which matters for temperature stability.
The dripper comes in two sizes:
– #155 — designed for single-cup brewing (roughly 1–2 cups)
– #185 — the more popular size, ideal for 2–4 cups
For most home setups, the #185 is the more versatile choice.
Essential Gear Before You Start
You don’t need a lot of equipment, but a few items make a noticeable difference.
- Kalita Wave dripper Kalita Wave 185 Dripper — glass, ceramic, or stainless steel. Glass and ceramic retain heat better; stainless steel is nearly indestructible and travels well.
- Genuine Kalita wave filters Kalita Wave 185 Filters — don’t substitute generic cone filters. The wave pattern only works correctly with matching ridged Kalita filters.
- Burr grinder set to medium-fine — blade grinders produce uneven particle sizes that make consistent extraction almost impossible.
- Digital scale — weighing both your coffee and your water is the single biggest upgrade you can make to your pour-over routine.
- Gooseneck kettle gooseneck electric kettle — the narrow spout gives you the flow control you need for a slow, steady spiral pour. A regular kettle dumps too much water too fast.
- Server or mug — nothing fancy, but a flat-mouthed vessel avoids splashing when you remove the dripper.
Step-by-Step Kalita Wave Brewing Routine
The #185 is optimized for roughly 29–30g of coffee to 500g of water, which is close to a 1:17 ratio. If you’re brewing a smaller batch on the #155, scale down proportionally.
Step 1: Rinse and Preheat
Place the wave filter in the dripper, set it on your server or mug, and pour hot water through the filter until it runs clear. Discard that water. This preheats your vessel — important for temperature stability — and removes any residual papery taste from the filter.
Step 2: Dose Your Coffee
Add 29–30g of medium-fine ground coffee to the filter and give it a gentle shake to level the bed. An even, flat surface before you start pouring helps water distribute uniformly from the very first second.
Step 3: The Bloom
Pour 40–60g of just-off-boil water evenly over the grounds. The goal is to saturate every particle. You’ll see the coffee “bloom” — a gentle bubbling and swelling caused by CO₂ releasing from freshly roasted beans.
Wait 30–45 seconds. Skipping this step isn’t catastrophic, but that first bloom significantly improves clarity and overall extraction quality. It’s worth the half-minute.
Step 4: The Main Pour
This is where the Kalita Wave rewards a patient, steady hand. Slowly pour the remaining water in concentric circles — start from the center, spiral outward toward the filter edge, then spiral back in. Keep the water level just below the peaks of the filter waves throughout.
Don’t rush. The entire pour should take 2–3 minutes.
Target total brew time: 3:30–3:50 minutes from first pour to last drip.
- If your brew finishes faster than 3:30, grind slightly finer.
- If it’s slower than 4 minutes, grind slightly coarser.
Flavor Tuning: Grind Size and Water Temperature
Once your routine is consistent, these two variables are your main levers for dialing in flavor.
Grind size:
– Finer grind → more body, slightly slower extraction, rounder sweetness
– Coarser grind → brighter acidity, cleaner finish, faster brew
Start medium-fine and adjust in small steps. Even a tiny grind adjustment changes the flavor noticeably with this brewer.
Water temperature:
– 195–205°F (90–96°C) covers most situations
– Cooler water (around 195°F / 90°C) suits darker roasts, which are already fully developed and can turn bitter with aggressive heat
– Hotter water (closer to 205°F / 96°C) suits lighter roasts, which need more energy to open up their flavor
Quick troubleshooting:
– Cup tastes sour or sharp → grind coarser or raise water temperature slightly
– Cup tastes bitter or heavy → grind coarser, lower water temperature, or shorten brew time by pouring slightly faster
Common Mistakes (and Easy Fixes)
Even a forgiving brewer like the Kalita Wave has a few failure points worth knowing about.
Uneven pouring. If you pour too fast or in a straight line rather than circles, you’ll create uneven extraction — essentially reintroducing the channeling problem the flat-bottom design was meant to eliminate. A gooseneck kettle fixes most of this. Slow down and be deliberate.
Skipping water temperature control. “Just-off-boil” sounds precise, but boiling point varies slightly with altitude, and perception of “just off” varies between people. For your first 5–10 brews, use a thermometer or a kettle with a built-in temperature setting. Once you’ve calibrated your eye and your kettle’s behavior, you can ease off.
Skipping the bloom. It feels optional, but it isn’t. That 30–45 second bloom ensures CO₂ escapes before the main pour begins. If you pour straight through without a bloom, the gas release during extraction creates uneven water contact and a cloudier, less clean-tasting cup.
Using non-Kalita filters. The wave filter design is integral to how this brewer works. Substituting a generic flat-bottom or cone filter changes the flow dynamics entirely and often produces either a muddy or under-extracted cup.
Kalita Wave vs. Other Pour-Over Methods
If you’re choosing between pour-over brewers, here’s how the Kalita Wave compares honestly.
Kalita Wave vs. V60:
The V60 produces a slightly brighter, more vibrant cup when handled well — but “when handled well” is doing a lot of work in that sentence. The cone shape and single large hole make it significantly more sensitive to pour speed and technique. The Kalita Wave is more forgiving with pour speed and produces a fuller-bodied cup. For most home brewers, especially those still building their technique, the Wave is the more reliable daily driver.
Kalita Wave vs. Chemex:
The Chemex uses a thick proprietary filter that produces exceptional clarity and a very clean cup. The tradeoff is longer brew time — typically 4–5 minutes versus 3:30–3:50 for the Kalita — and a lighter body. If you primarily want a clean, delicate cup to highlight floral or tea-like notes, the Chemex does that beautifully. If you want sweetness, body, and consistency in under four minutes, the Kalita Wave wins.
The short version: choose the Kalita Wave for consistency, approachability, and a balanced cup with good body. Choose alternatives when you want to experiment specifically with technique or filter clarity.
Building Your Daily Kalita Routine
Here’s the thing about the Kalita Wave — once you’ve dialed in your grind and your pour, it becomes one of the most satisfying 4-minute rituals in your morning routine. There’s no trick shot required. Steady, circular pouring and a little patience is genuinely all it takes.
Start with this baseline recipe and adjust from there:
– Coffee: 29–30g, medium-fine grind
– Water: 500g, 195–205°F (90–96°C)
– Bloom: 40–60g water, 30–45 seconds
– Total brew time: 3:30–3:50
When you want to adjust, change one variable at a time and change it in small steps — 0.5g of coffee, a half-step on your grinder, or a 2–3°F shift in temperature. Small changes are easier to interpret and easier to reverse.
The flat-bottom design rewards steady habits. And steady habits, over time, reward you with a cup that tastes like exactly what you intended.
Looking to extend your pour-over practice? Check out our guides on dialing in grind size for different roast levels and how water quality affects extraction across every brew method.