TL;DR
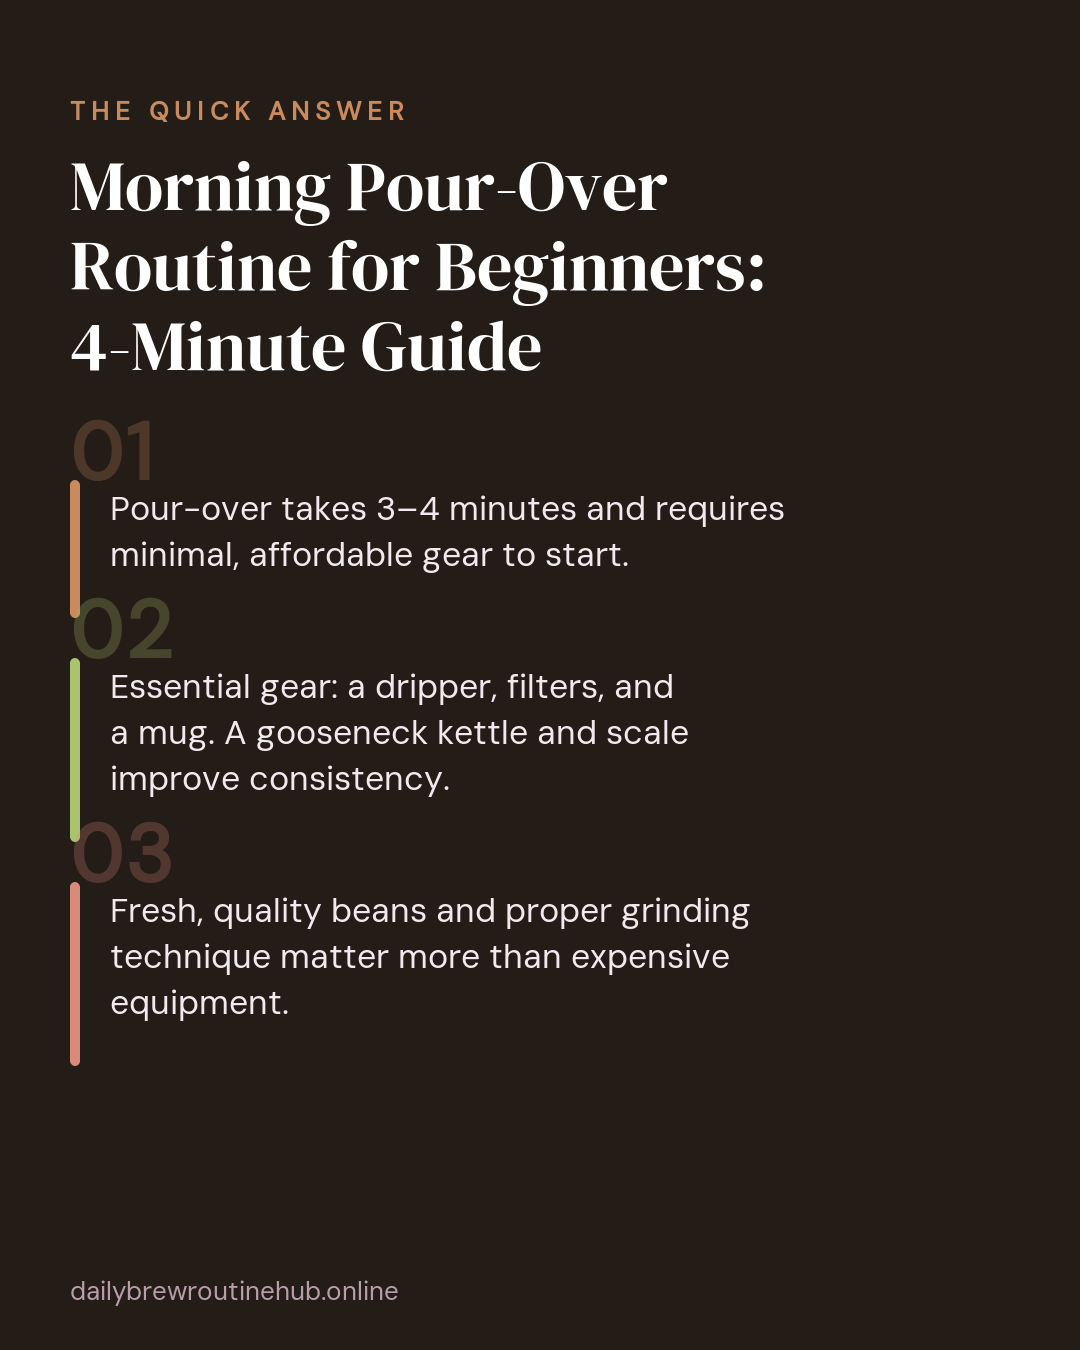
- Pour-over takes 3–4 minutes and requires minimal, affordable gear to start.
- Essential gear: a dripper, filters, and a mug. A gooseneck kettle and scale improve consistency.
- Fresh, quality beans and proper grinding technique matter more than expensive equipment.
Morning Pour-Over Routine for Beginners: Your Simple 4-Minute Coffee Ritual
There’s something quietly satisfying about making your first cup of coffee by hand. No buttons, no pods, no guesswork handed off to a machine — just you, hot water, and a filter full of fresh-ground beans.
If you’ve been curious about pour-over coffee but assumed it was complicated, I want to reassure you right now: it isn’t. The whole process takes about 4 minutes once you know what you’re doing, and getting there is genuinely enjoyable. This guide walks you through everything from gear to grind to your first successful cup.
Why Pour-Over is Perfect for Your Morning
Pour-over coffee has a bit of a reputation for being a “serious barista” thing. And sure, you can go deep down that rabbit hole if you want. But at its core, it’s one of the most accessible brewing methods out there.
Here’s why beginners love it:
- It’s fast. From kettle to cup takes 3–4 minutes once you’re in your rhythm.
- The equipment is minimal and affordable. You don’t need an espresso machine or fancy tech.
- The results are noticeably better than drip coffee when you nail even the basics.
- It’s a genuine ritual. That 4-minute window becomes a small daily reset before the chaos starts.
I started doing pour-over on weekday mornings partly because I was tired of mediocre drip coffee, and partly because I needed a screen-free moment before opening my laptop. It solved both problems at once.
Gather Your Pour-Over Equipment (What You Actually Need)
You don’t need to spend a lot to get started. Here’s the honest minimum:
The Essentials
- A dripper: The Hario V60 Hario V60 Pour Over Dripper, Melitta single-cup dripper, and Kalita Wave Kalita Wave Dripper are all excellent beginner choices. The Melitta is the most forgiving because its single small hole controls the flow rate for you — less technique required.
- Filters: Make sure they match your dripper shape. Paper filters are easier to start with; metal filters are reusable and give a slightly fuller-bodied cup.
- A mug or carafe to brew directly into.
Nice-to-Have (But Genuinely Worth It)
- A gooseneck kettle gooseneck kettle pour over: The narrow spout gives you precise control over where water lands and how fast it flows. A regular kettle works in a pinch, but once you try a gooseneck, you’ll understand the fuss.
- A kitchen scale: This is the single biggest upgrade for consistency. Even a basic digital kitchen scale that reads to 0.1g will transform your brewing repeatability. Eyeballing scoops leads to inconsistent results — a scale removes the guesswork entirely.
You absolutely do not need to buy everything at once. A dripper, a box of filters, and any kettle you own is enough to start today.
Choose and Grind Your Coffee Beans
The beans you use matter more than almost any piece of equipment. Good gear with bad coffee produces mediocre results. Decent gear with quality fresh beans? Genuinely great coffee.
What to Look For
- Roast level: A medium roast is the most forgiving and crowd-pleasing starting point. Light roasts are beautiful but highlight flavors that can taste sour if your technique is off. Dark roasts taste bold and familiar but can obscure the nuance that makes pour-over special. Start medium, then explore.
- Freshness: Look for a roast date on the bag, not just a “best by” date. Beans roasted within the last 2–4 weeks are ideal. Many specialty roasters and even some supermarket brands now print this clearly.
- Label cues: Some bags are labeled “recommended for pour-over” or “filter roast” — these are genuinely good signals, not just marketing.
Grind Fresh, Every Time
Pre-ground coffee goes stale within days. Grinding fresh — even 5 minutes before you brew — makes a real difference in aroma and flavor.
Grind size target: Aim for somewhere between coarse sea salt and fine sand. It should feel slightly gritty, not powdery.
On grinders:
– A burr grinder (hand crank or electric) burr coffee grinder is strongly recommended. It cuts beans uniformly, which means even extraction.
– A blade grinder chops beans at random, creating a mix of coarse chunks and ultra-fine powder. Those fines over-extract and make your coffee taste bitter and muddy.
If you’re starting out on a tight budget, a hand burr grinder is a surprisingly capable and affordable option — and it doubles as a small morning arm workout.
Step-by-Step Morning Brewing Guide
Here’s the actual sequence. Read through it once, then just follow it — it becomes muscle memory faster than you’d expect.
1. Boil Your Water
Heat water to around 200°F / 93°C. If you don’t have a temperature-controlled kettle, simply bring water to a boil and let it sit for 30–45 seconds. That’s close enough.
2. Rinse the Filter
Place your paper filter in the dripper and set it over your mug. Pour hot water through the filter, letting it drain completely, then discard that rinse water.
Why? Two reasons: it removes the papery taste from the filter, and it preheats your dripper and mug so your brew temperature stays stable.
3. Add Your Coffee
Measure out your ground coffee (see the ratio section below) and add it to the rinsed filter. Give the dripper a gentle shake to level the grounds.
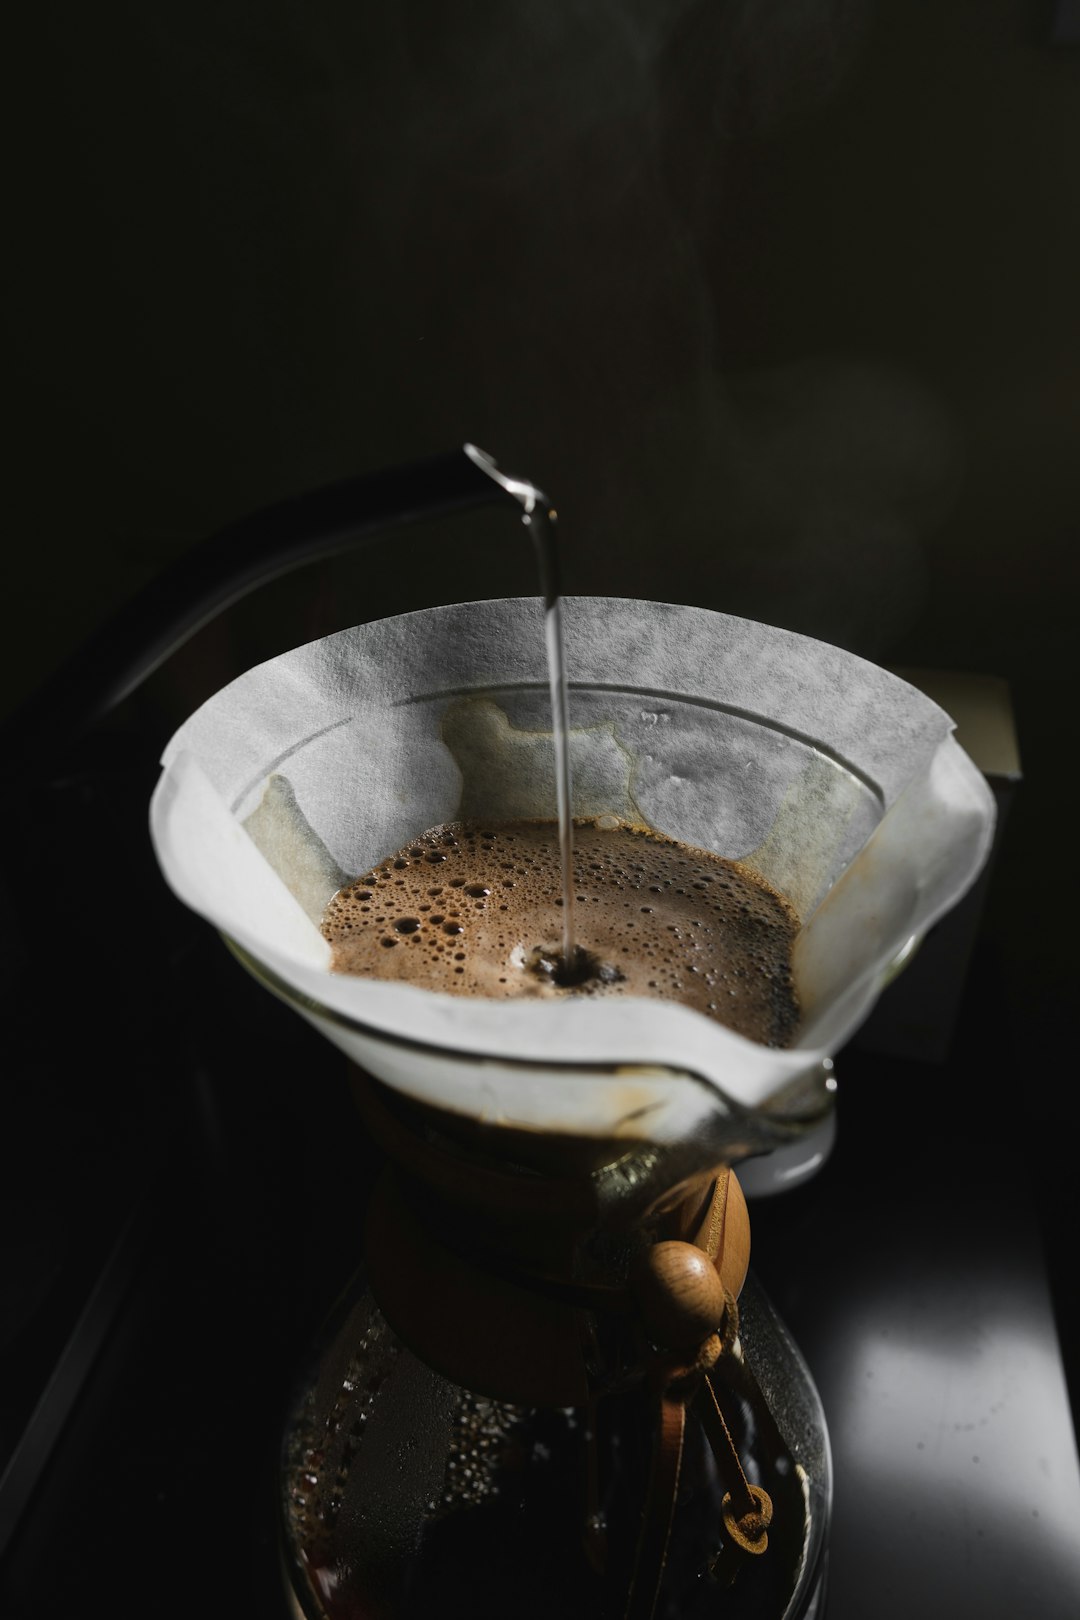
4. The Bloom Pour
This is the most satisfying step visually. Pour just enough water to saturate all the grounds — roughly 2–3 times the weight of your coffee. So if you’re using 20g of coffee, pour about 40–60g of water.
Then wait 30–45 seconds.
You’ll see the grounds bubble and expand (called “blooming”). This is CO₂ escaping from freshly roasted coffee, and it’s a good sign. If your grounds barely react, your beans are probably too old.
5. The Main Pour
Starting from the center and moving in slow spirals outward, pour the remaining water gradually over 2–3 minutes. Keep the grounds wet and submerged, but don’t pour so fast that water floods over the sides.
No need to be perfect about this. Slow and steady, circular or back-and-forth — both work. The main thing is not rushing.
6. Let It Drain and Enjoy
Once you’ve added all your water, let the dripper drain completely. Remove it, wrap your hands around the mug, and take a moment before the day starts.
Total active time: about 4 minutes. Total satisfaction: disproportionate.
Dialing In Your Ratio and Water Temperature
This is where small adjustments take you from “pretty good” to “consistently great.”
Coffee-to-Water Ratio
Start with 1:16 — that means 1 gram of coffee for every 16 grams of water.
A practical starting point: 20g of coffee to 320g of water. That makes a standard mug.
- Want it stronger? Try 1:15 (20g coffee to 300g water).
- Want it lighter? Try 1:17 (20g coffee to 340g water).
Adjust one variable at a time so you know what changed.
Water Temperature
The sweet spot is 195–205°F (90–96°C).
- Too hot → over-extracts bitter, harsh compounds
- Too cool → under-extracts, leaving sour, weak, or thin-tasting coffee
If you’re adjusting temperature by feel (no thermometer), just remember: boiling, then a 30-second rest.
Keep Notes
Seriously — even a notes app on your phone works. Jot down grind size, ratio, water temperature, and brew time. When you make a cup you love, you’ll be able to repeat it exactly. When something tastes off, you’ll know what to change.
Troubleshooting Common Beginner Mistakes
Almost everyone hits these early on. Here’s how to fix them:
Tastes sour or sharp?
– Water is too cool
– Grind is too coarse (water passes through too fast)
– You poured too quickly — slow down the pour
Tastes bitter or harsh?
– Water is too hot
– Grind is too fine (over-extraction)
– Brew time is too long — pour a little faster or go coarser on grind
Tastes flat or weak?
– Beans may be stale — check that roast date
– Ratio is off — try using more coffee
– Grind may be too coarse for your specific beans
Results are inconsistent day to day?
– This is almost always solved by a scale and a consistent pour pattern, not by buying better gear
– Measure everything; stop eyeballing
Make It a Ritual You’ll Actually Stick With
The best morning routine is one that’s easy enough to do when you’re half-asleep. Here’s how to make pour-over feel effortless:
- Prep the night before. Set your dripper on your mug, place a filter in it, and measure your beans into your grinder. Morning-you will be grateful.
- Keep everything in one spot. A small tray or dedicated corner of the counter means you don’t have to think — just reach, grind, brew.
- Give yourself the 4 minutes. No scrolling, no email. Just the sound of water and the smell of coffee. It sounds small, but it genuinely changes how the first hour of your day feels.
- Experiment slowly. Once your basic routine is locked in, try one new variable per week — a different bean origin, a slightly coarser grind, a longer bloom. This is how the hobby deepens without becoming overwhelming.
Pour-over coffee rewards attention without demanding perfection. Start simple, stay consistent, and trust that small improvements add up.
You might be surprised how quickly those 4 minutes become the part of your morning you look forward to most.
New to pour-over and figuring out your gear setup? Check out our guide to beginner-friendly coffee grinders and how to choose your first dripper for more help building your kit.
Photo by Kevin Canlas on Unsplash