TL;DR
- Specialty coffee subscriptions pair perfectly with home cupping to build palate awareness and tasting skills over time.
- Check roast dates and processing methods when your box arrives—beans at 2–3 weeks post-roast are ideal for sensory evaluation.
- Cup two or three coffees side-by-side to notice patterns in flavor, acidity, and body across origins and roast levels.
Coffee Subscription Unboxing and Cupping Routine: Turn Every Delivery Into a Tasting Experience
There’s something genuinely exciting about finding a coffee subscription box at your door. It’s not just a bag of beans — it’s an invitation to slow down, pay attention, and actually taste what’s in your cup.
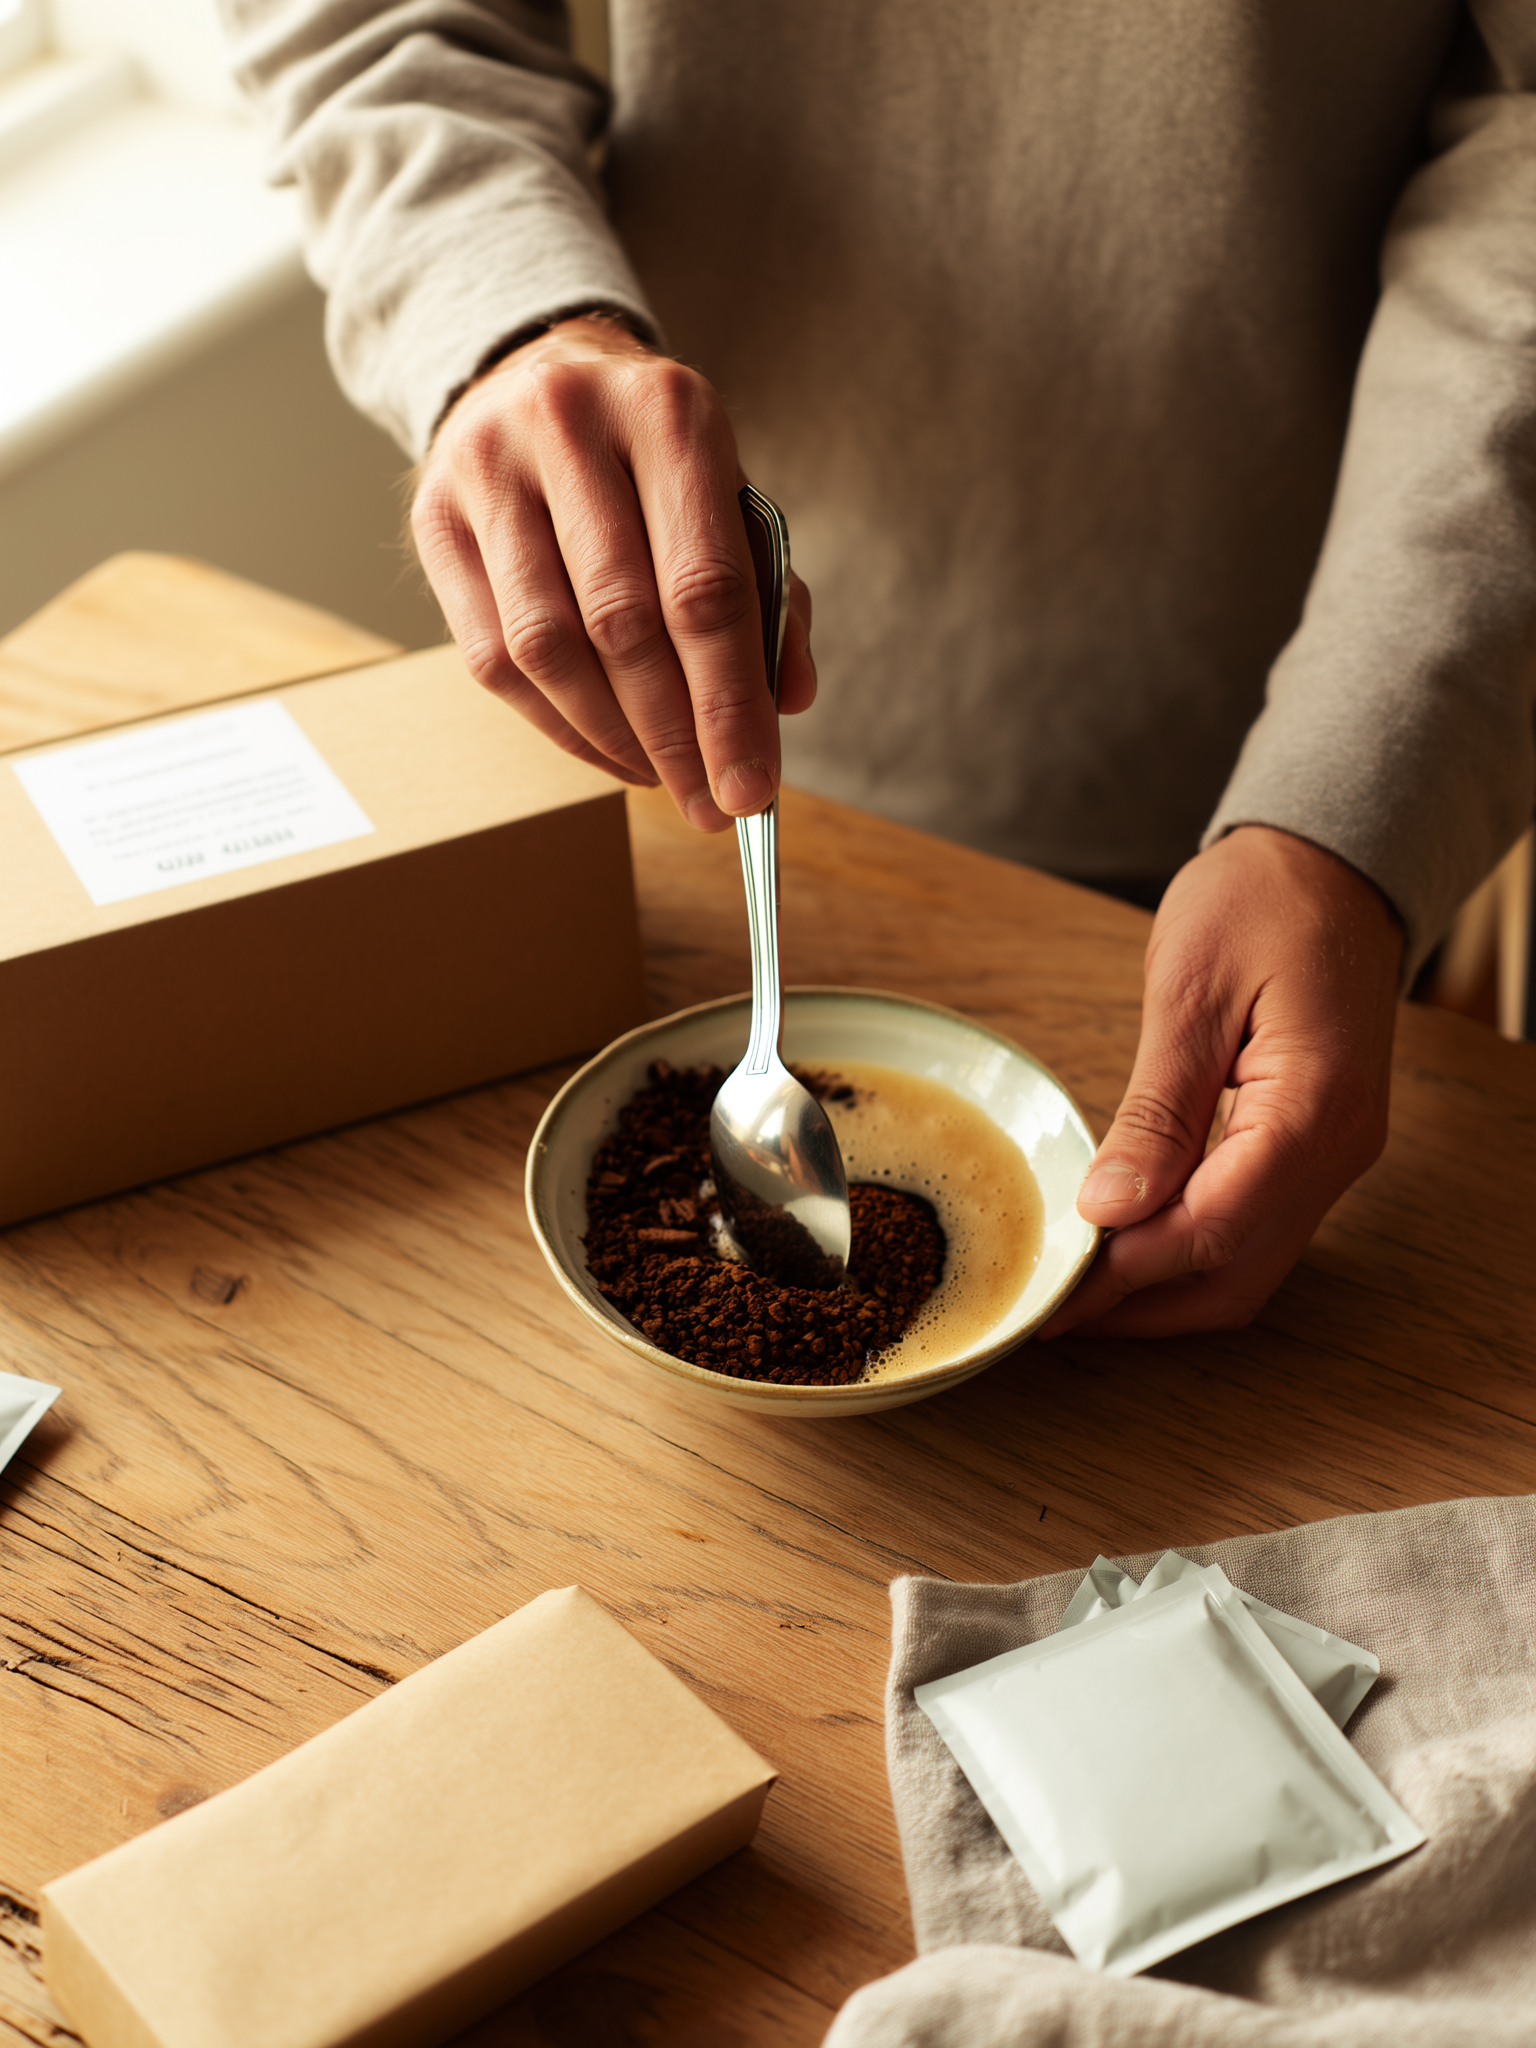
The good news? You don’t need a professional setup or a barista certification to do this well. Cupping — the coffee industry’s standard method for sensory evaluation — is surprisingly accessible at home. Pair it with a monthly subscription delivery, and you’ve got a built-in ritual that keeps your palate sharp and your mornings interesting.
This guide walks you through the full unboxing-to-cupping routine, from what to look for on the bag label to how to document your notes like a pro.
Why Monthly Subscriptions and Home Cupping Work Together
Specialty coffee subscriptions are built around variety. Some services offer access to 600+ coffees from dozens of top roasters in a single subscription — which means every box is a chance to explore origins, roast profiles, and processing methods you might never pick off a shelf on your own.
That variety is exactly what makes cupping worthwhile. When you cup two or three coffees side by side, patterns start to emerge. You notice that natural-process beans tend to carry more fruit-forward flavors. You realize you consistently prefer washed Ethiopian over Colombian medium roasts. Over a few months, those observations stack up into genuine coffee knowledge.
Cupping is also the professional standard for good reason. The Specialty Coffee Association (SCA) uses it as the foundation for quality grading — a coffee that scores over 80 points on the SCA scale earns “Specialty” grade status. The sensory aspects evaluated include fragrance and aroma, flavor, aftertaste, acidity, body, balance, uniformity, clean cup, sweetness, and overall impression. You’ll be working through those same dimensions at home.
What to Look for When Your Box Arrives
Before you even think about grinding, spend five minutes reviewing the contents. Most specialty coffee subscriptions include tasting notes cards, origin information, and — critically — a roast date printed on each bag.
The roast date matters more than many people realize. By the time subscription beans travel through roasting, packaging, and shipping, they’re often two to three weeks post-roast when they reach your door. The aromatic oils have already begun to fade, and brightness dulls with time. Beans roasted within one to two weeks are ideal for cupping; if yours are at that two-to-three-week mark, cup them soon rather than letting them sit.
Check each bag for:
- Origin and region (single-origin vs. blend, country, farm if listed)
- Processing method — washed, natural, or honey process all produce distinctly different flavor profiles
- Roast level — light, medium, or dark
- Recommended brew temperatures, if the roaster includes them
This information gives you context before your palate does. It’s also what makes the comparison interesting when you’re cupping multiple coffees from the same box.
Setting Up Your Home Cupping Station
Here’s the honest truth: you probably already own most of what you need.
The basic equipment list:
- A grinder (burr grinder preferred for consistency)
- Small cups or bowls, 6–8 oz each — one per coffee being evaluated
- A cupping spoon or regular soup spoon
- A kettle and thermometer, or an electric kettle with temperature control Fellow Stagg EKG Electric Pour-Over Kettle
- A timer
- A notepad or printed cupping template
On measurements: The SCA standard calls for 8.25g of whole-bean coffee per 150mL of water — roughly a 1:18 ratio. That works out to about 10–11g per 6 oz cup. Weigh your coffee after the beans arrive but grind it just before you cup, so aromatics stay fresh.
Grind coarsely — similar to what you’d use for a French press. The goal of cupping is to taste the coffee itself, not to introduce extraction variables. A fine grind at cupping temperatures risks over-extraction bitterness that masks the actual flavor profile.
Water temperature should land between 195–205°F (90–96°C). Most cuppers use around 200°F — let freshly boiled water rest for about 30 seconds before pouring if you don’t have a temperature-controlled kettle.
If you’re evaluating multiple coffees in the same session, the SCA protocol actually calls for brewing each coffee in two to three separate cups. This redundancy helps confirm that what you’re tasting reflects the coffee itself, not a small inconsistency in one cup. At home, even just two cups per coffee makes your evaluation more reliable.
The Cupping Routine: Step by Step
Once your cups are set up and water is poured, here’s how the next ten minutes unfold.
Smell First (Before and After Pouring)
Before you add water, take a moment to smell the dry grounds — this is the “fragrance” step. Note whether it’s bright and floral, chocolatey, earthy, or somewhere else entirely.
After pouring hot water, a crust of grounds will float to the surface. Let it sit undisturbed for four minutes while the coffee steeps.
Break the Crust (4-Minute Mark)
At four minutes, use the back of your spoon to gently push the crust down into the cup. As you do, lean in and inhale. This is often the most aromatic moment in the entire cupping process — the steam carries volatile compounds that give you a concentrated hit of the coffee’s aroma profile. Note what you smell: fruit, nuts, citrus, florals, earth, smoke.
Slurp and Evaluate (5–6 Minutes)
Skim away any floating foam or grounds with your spoon, then take your first taste while the coffee is still warm. Slurp it audibly — this isn’t bad manners, it’s technique. Slurping introduces air into the coffee, spreading it across your entire palate and enhancing your ability to detect subtle notes. It genuinely works, even if it feels awkward at first.
As you taste, notice:
- Flavor: Does it match the aroma? What specific notes come through?
- Acidity: Is there brightness? Does it feel crisp or sharp?
- Body: Is the texture light and tea-like, or thick and syrupy?
- Aftertaste: What lingers after you swallow? Is it pleasant or flat?
Let It Cool and Compare (7–10 Minutes)
Don’t rush this part. As the cup cools, the flavor profile shifts noticeably. Acidity becomes more pronounced, sweetness comes forward, and the finish often changes character. A coffee that tasted unremarkable at 180°F might reveal a lovely caramel sweetness at 140°F.
This is also when side-by-side comparison becomes most revealing. Move your spoon between cups and taste them back-to-back. Differences that were subtle while hot become much clearer as both cups cool toward the same temperature.
How to Document Your Cupping Notes
You don’t need a sophisticated system — just something consistent enough to compare across months.
A simple template to start with:
| Field | What to Write |
|---|---|
| Coffee name / origin | Ethiopia Yirgacheffe, washed |
| Roast date | Received date + days since roast |
| Fragrance / aroma | Floral, bergamot, brown sugar |
| Flavor | Stone fruit, lemon zest, light cocoa |
| Acidity | Bright, citric |
| Body | Light to medium, tea-like |
| Aftertaste | Clean, lingering citrus |
| Overall score (1–10) | 8 |
| Notes | Compare to last month’s Ethiopian natural |
After a few months of using the same template, patterns emerge that you wouldn’t notice otherwise. You might find you consistently rate washed Africans higher than natural Centrals. Or that your preferred roast window is “light-medium” regardless of origin. That self-knowledge is genuinely useful when choosing your next subscription or dialing in a brew recipe.
Photographs are worth taking too — a quick shot of the subscription contents laid out on a table, plus your cupping setup mid-session, creates a visual record that’s easy to scroll back through.
Common Mistakes That Flatten Your Results
A few small errors can significantly muddy what you’re tasting.
Using water that’s too hot or too cool. Boiling water (212°F/100°C) scorches lighter roasts and kills delicate aromatics. Below 195°F and you’ll under-extract, losing acidity and complexity. The 30-second cooling trick after boiling is enough to get you in range.
Grinding too fine. Cupping is designed to isolate the coffee’s natural character. A fine grind introduces over-extraction variables that make it harder to identify what’s actually happening in the bean. Coarse is correct here.
Tasting outside the optimal window. The 4–6 minute window after pouring captures the most nuanced flavors. Waiting beyond 10 minutes as the cup cools often flattens the acidity and sweetness that make specialty coffees interesting.
Skipping the dry fragrance step. The aroma before water hits the grounds is a valuable data point. Don’t rush past it.
Making This a Monthly Ritual
The real value of this routine compounds over time. Schedule your unboxing and cupping session on the same day every month — even just setting a calendar reminder makes it feel like an event rather than an afterthought.
As seasons change, you’ll notice that the coffees your subscription sends shift too. Summer might bring lighter, fruit-forward Africans. Winter subscriptions often lean into chocolatey Centrals and South Americans. Paying attention to those seasonal patterns deepens your understanding of coffee far more than reading about it passively ever could.
Share your notes. Post your cupping setup on social media, drop your observations in a coffee forum, or compare notes with a friend who has the same subscription. Coffee communities like r/Coffee and r/espresso have plenty of home baristas doing exactly this kind of kitchen-table tasting — and comparing observations is one of the fastest ways to develop your palate.
Most importantly, let your cupping notes inform your actual brewing. If you discover you love the acidity of a particular washed Ethiopian, try brewing it as a pour-over at a slightly lower temperature to highlight that brightness. If a natural process from Brazil cups exceptionally sweet and heavy-bodied, pull it through your espresso machine and see how that body translates.
Your subscription box is a sampler. Your cupping routine is how you figure out what to order more of.
New to home cupping? Even one session with two coffees side by side will change how you think about what’s in your cup. Start simple, take notes, and build from there.
Sources
- A Beginner's Guide to Coffee Cupping at Home | Seattle Coffee Gear
- Unboxing and Cupping of the Kaffebox Coffee Subscription (October 2021) – YouTube
- Mastering the Cupping Process at Home: Taste Like a Pro – Achilles Coffee Roasters
- Coffee Tasting | Cupping Club
- How To Set Up And Run A Coffee Cupping: A Step-by-Step Guide | Royal Coffee
- Blog Beginner’s Guide to Coffee Cupping – fabrica coffee roaster