TL;DR
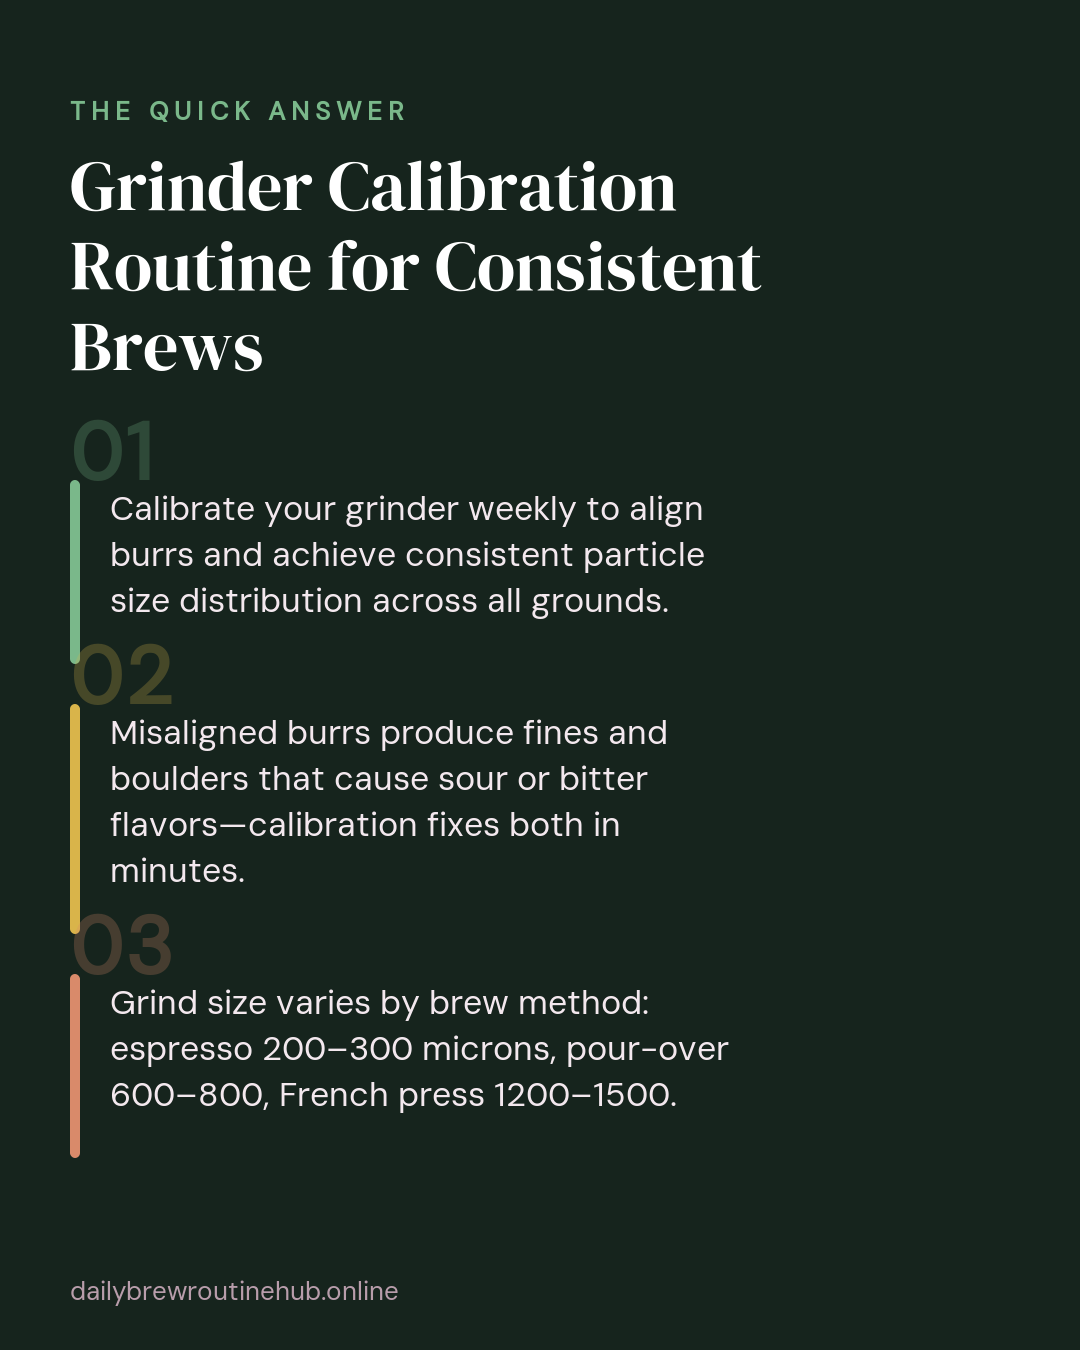
- Calibrate your grinder weekly to align burrs and achieve consistent particle size distribution across all grounds.
- Misaligned burrs produce fines and boulders that cause sour or bitter flavors—calibration fixes both in minutes.
- Grind size varies by brew method: espresso 200–300 microns, pour-over 600–800, French press 1200–1500.
Grinder Calibration Routine for Consistent Brews
If your morning espresso tastes great one day and sour the next — without changing anything — your grinder is probably the culprit. Grind consistency is the single biggest variable most home brewers overlook, and it quietly sabotages otherwise good coffee.
The good news? A simple calibration routine, done once a week, is all it takes to get predictable, repeatable results from your setup.
Why Grinder Calibration Matters More Than You Think
Most home brewers tweak their water temperature, adjust their pour technique, or experiment with different beans when they hit a bad cup. The grinder rarely gets the blame.
But here’s the thing: calibration is what aligns your grinder’s burrs so they produce a consistent particle size every single time. The goal isn’t just a particular grind size — it’s a narrow particle size distribution (PSD), meaning most of your grounds are close to the same size, with as few outliers as possible.
When calibration is off, you get what coffee people call fines and boulders in the same dose. The fine, dust-like particles over-extract and turn bitter. The large boulder-sized chunks under-extract and taste sour. Both end up in your cup at the same time, which explains that strange, muddy flavor that’s hard to pin down.
Fixing it takes 5–10 minutes per week. That’s a small investment compared to the beans, time, and frustration you’ll waste chasing a problem that lives inside your grinder.
Understanding Grind Size, Burr Alignment, and Why Both Matter
Before diving into the how, it helps to understand what’s actually happening inside your grinder.
Burr alignment determines how evenly the two burr surfaces meet. When they’re perfectly parallel, every coffee particle passes through the same gap and exits at roughly the same size. When they’re even slightly misaligned, some particles squeeze through a tighter section while others pass through a wider one — producing that uneven mix of fines and boulders.
Grind size varies significantly by brew method:
- Espresso: Fine grind, roughly 200–300 microns. Targets a 25–30 second extraction time.
- Pour-over: Medium grind, roughly 600–800 microns. Brew time runs 2.5–3.5 minutes.
- French press: Coarse grind, roughly 1,200–1,500 microns. Steeps for about 4 minutes.
One more thing worth knowing: burr type affects the shape of your particles, not just the size. Flat burrs tend to produce angular, shattered particles with more surface area, which extracts slightly faster and can emphasize brightness and acidity. Conical burrs produce rounder fragments, which often translate to more body and sweetness. Neither is objectively better — but understanding this helps you interpret taste results during calibration.
Environmental factors matter too. Humidity can cause burr spacing to shift slightly. Bean freshness and roast level change how the coffee fractures under the burrs. A dark roast is more brittle and grinds faster than a dense light roast. These small shifts mean calibration isn’t a one-time setup — it’s an ongoing practice.
Step-by-Step Calibration Process for Home Grinders
This process works whether you’re dialing in espresso, pour-over, or French press. The key is patience and documentation.
Step 1: Choose a reference bean.
Always calibrate with the same bean origin and roast level as your baseline. Using a consistent bean eliminates one variable and helps you isolate grinder performance.
Step 2: Start at your last known setting.
If you documented your dial position previously (more on this below), start there. If you’re calibrating from scratch, start in the middle of your grinder’s range and work your way in either direction.
Step 3: Adjust one notch at a time.
This is where most beginners go wrong — they make large jumps and overshoot. Move one notch or click, brew a test cup or shot, then evaluate flavor and timing. Repeat. One notch at a time gives you control and clarity about what changed.
Step 4: Write everything down.
Keep a small notebook — or even just a notes app — with your dial position, bean name, and the result. Over time, this becomes your personal recipe book. When you load the same beans again two weeks later, you already know where to start.
Step 5: Re-calibrate when you switch beans.
Different origins and roast levels require different grind settings. Light roasts are denser and need a slightly finer grind to extract properly. Dark roasts are more porous and extract faster, so you may need to grind slightly coarser. Don’t assume your espresso setting for an Ethiopian natural will work for a dark Brazilian blend.
Also plan to re-calibrate after 2–3 weeks of heavy use, even if you haven’t switched beans. Burr wear and coffee oil buildup both shift your baseline over time.
Testing Your Calibration: What to Look For
Calibration isn’t just about setting a number — it’s confirmed by how the resulting brew tastes and behaves.
For Espresso
Using 18 grams of coffee and targeting 36–38 grams of liquid espresso (a standard 1:2 ratio), time your shot. If it falls between 26–30 seconds, you’re likely in a good extraction range.
What to watch for:
- Even water distribution across the puck (no channeling or pale spots)
- A steady, consistent flow — not spurting or running too fast
- Flavor that’s balanced, not sharp or sour (under-extracted) or flat or bitter (over-extracted)
If your shot runs too fast, grind finer. Too slow, grind coarser. Move one notch at a time.
For Pour-Over
Water should drain through the bed smoothly and completely within 2.5–3.5 minutes. If water pools on the surface and takes forever to drain, your grind is too fine. If it blows through in under 2 minutes, go finer.
Taste cues: a well-calibrated pour-over should taste clean and bright, with a pleasant finish. A chalky or hollow taste usually means the grind was uneven — too many fines clogging the filter while boulders passed through under-extracted.
For French Press
The coarser grind used in French press is more forgiving, but calibration still matters. Aim for 4 minutes of steeping time at a consistent grind. If your mouthfeel is sandy or gritty, your grind is too fine and fines are passing through the mesh filter. If the brew tastes thin or watery, go finer.
Common Calibration Mistakes (and How to Avoid Them)
Changing grind size mid-session.
If you adjust mid-brew to correct a shot, that’s fine — but reset your reference point before the next session. Otherwise your documented settings become meaningless.
Using one setting for all bean densities.
Light roasts and dark roasts behave differently under the burrs. A setting that works perfectly for one origin may under-extract or over-extract another. Always recalibrate when switching beans.
Skipping the purge after switching beans.
This is an easy one to miss. Your grinder retains some ground coffee inside after every use — typically several grams depending on the design. This grind retention means that when you load new beans, the first dose out of the grinder is a mix of old and new. Those retained grounds are often stale and will skew your first cup. Always purge a small amount (10–15 grams) of the new bean before brewing.
Ignoring environmental changes.
If you’ve moved your grinder to a different room, the seasons have shifted, or you’re using beans that just arrived versus beans that have been sitting open for two weeks — these all affect grind consistency. If something suddenly tastes off and you haven’t changed anything obvious, run a quick calibration check before assuming it’s a bigger problem.
Maintaining Your Grinder Between Calibrations
Calibration only holds if your grinder is clean. Coffee oils go rancid over time and coat the burrs, causing them to grind unevenly and contaminate fresh batches with stale flavors.
Here’s a simple maintenance rhythm:
- Weekly: Purge 10–15 grams of fresh beans at the start of your grind session to clear out retained grounds from the previous use.
- Monthly: Inspect your burrs visually for debris buildup, flat spots, or visible wear. Flat spots on burrs are a sign they need replacing — no amount of calibration will fix a worn-out burr set.
- Every few uses (for espresso brewers): Clean your burrs more frequently, since espresso grinds are fine and oil buildup happens faster at that consistency.
- Bean storage: Keep your beans in an airtight container, away from heat and light. Fresh beans grind more consistently and require less adjustment than stale beans. This isn’t just about taste — stale beans fracture differently under the burrs and can shift your calibrated settings.
Your Weekly Calibration Checklist
Here’s how to pull this all together into a routine you can actually stick to.
Time investment:
– Single brew method: 5–10 minutes
– Multiple brew methods: 15–20 minutes
What you need:
– A kitchen scale (accurate to 0.1g for espresso)
– A timer
– Your brewing device
– A notebook or notes app for dial position records
The weekly routine:
- ✅ Purge 10–15 grams of beans to clear old residue
- ✅ Start at your last documented dial position
- ✅ Brew one test cup or shot
- ✅ Evaluate timing and taste against your target (see brew method specs above)
- ✅ Adjust one notch if needed, brew again
- ✅ Document final setting, bean name, and any notes
- ✅ Check burrs visually once per month during this step
One perfectly dialed shot or cup per week is your confirmation that the grinder is stable. If that cup hits your target without adjustment, you’re done — no changes needed until flavor starts to drift.
The Payoff: Consistency You Can Actually Taste
Grinder calibration isn’t a one-time fix. It’s a small, repeatable habit that compounds over time. Once you have a few weeks of documented settings across your favorite beans, dialing in a new bag takes minutes instead of a wasted hour.
The home brewers who consistently pull great shots and pour beautiful cups aren’t necessarily using more expensive gear. They’re just paying closer attention to the one piece of equipment that affects every cup they make.
Start with one brew method. Document your settings. Rebuild from there.
Sources
- How to Calibrate Your Coffee Grinder for Precision Brewing – Pro Coffee Gear
- How Grinder Calibration Trips Up Most Beginners – Ratio
- Mastering Your Grind: A Guide to Calibrating Your Coffee Grinder for Different Brewing Techniques – HalaTree
- How to calibrate your Niche Zero grinder for optimum performance – Niche Coffee
- Coffee Calibration 101
- How to Calibrate Your Espresso Grinder: A Step-by-Step Guide for Burr – Comiso Coffee