TL;DR
- Iced pour-over delivers bright, flavorful coffee in 5 minutes—no overnight waiting required.
- Choose light to medium roast, single-origin beans roasted 2–4 weeks prior for best results.
- Hot water extraction locks in aromatics when ice-chilled instantly, preserving delicate flavor notes.
Iced Pour-Over Routine for Hot Days (Step-by-Step Guide)
There’s nothing worse than waking up to a sweltering summer morning and reaching for your usual hot coffee out of pure habit. By the time you take your first sip, you’re already sweating into your mug.
Here’s the good news: you don’t need to wait 12 hours for cold brew to pull off a genuinely great iced coffee at home. The iced pour-over method gives you a clean, bright, flavor-forward cup in under five minutes — and once you try it, you’ll wonder why you ever waited overnight.
Why Iced Pour-Over Beats Cold Brew (on Most Summer Mornings)
Cold brew has its place. It’s smooth, it’s low-acid, and it lives happily in your fridge for up to two weeks. But it’s also slow, it tends to mute the more delicate origin notes in specialty beans, and it requires planning ahead.
Iced pour-over flips that script entirely.
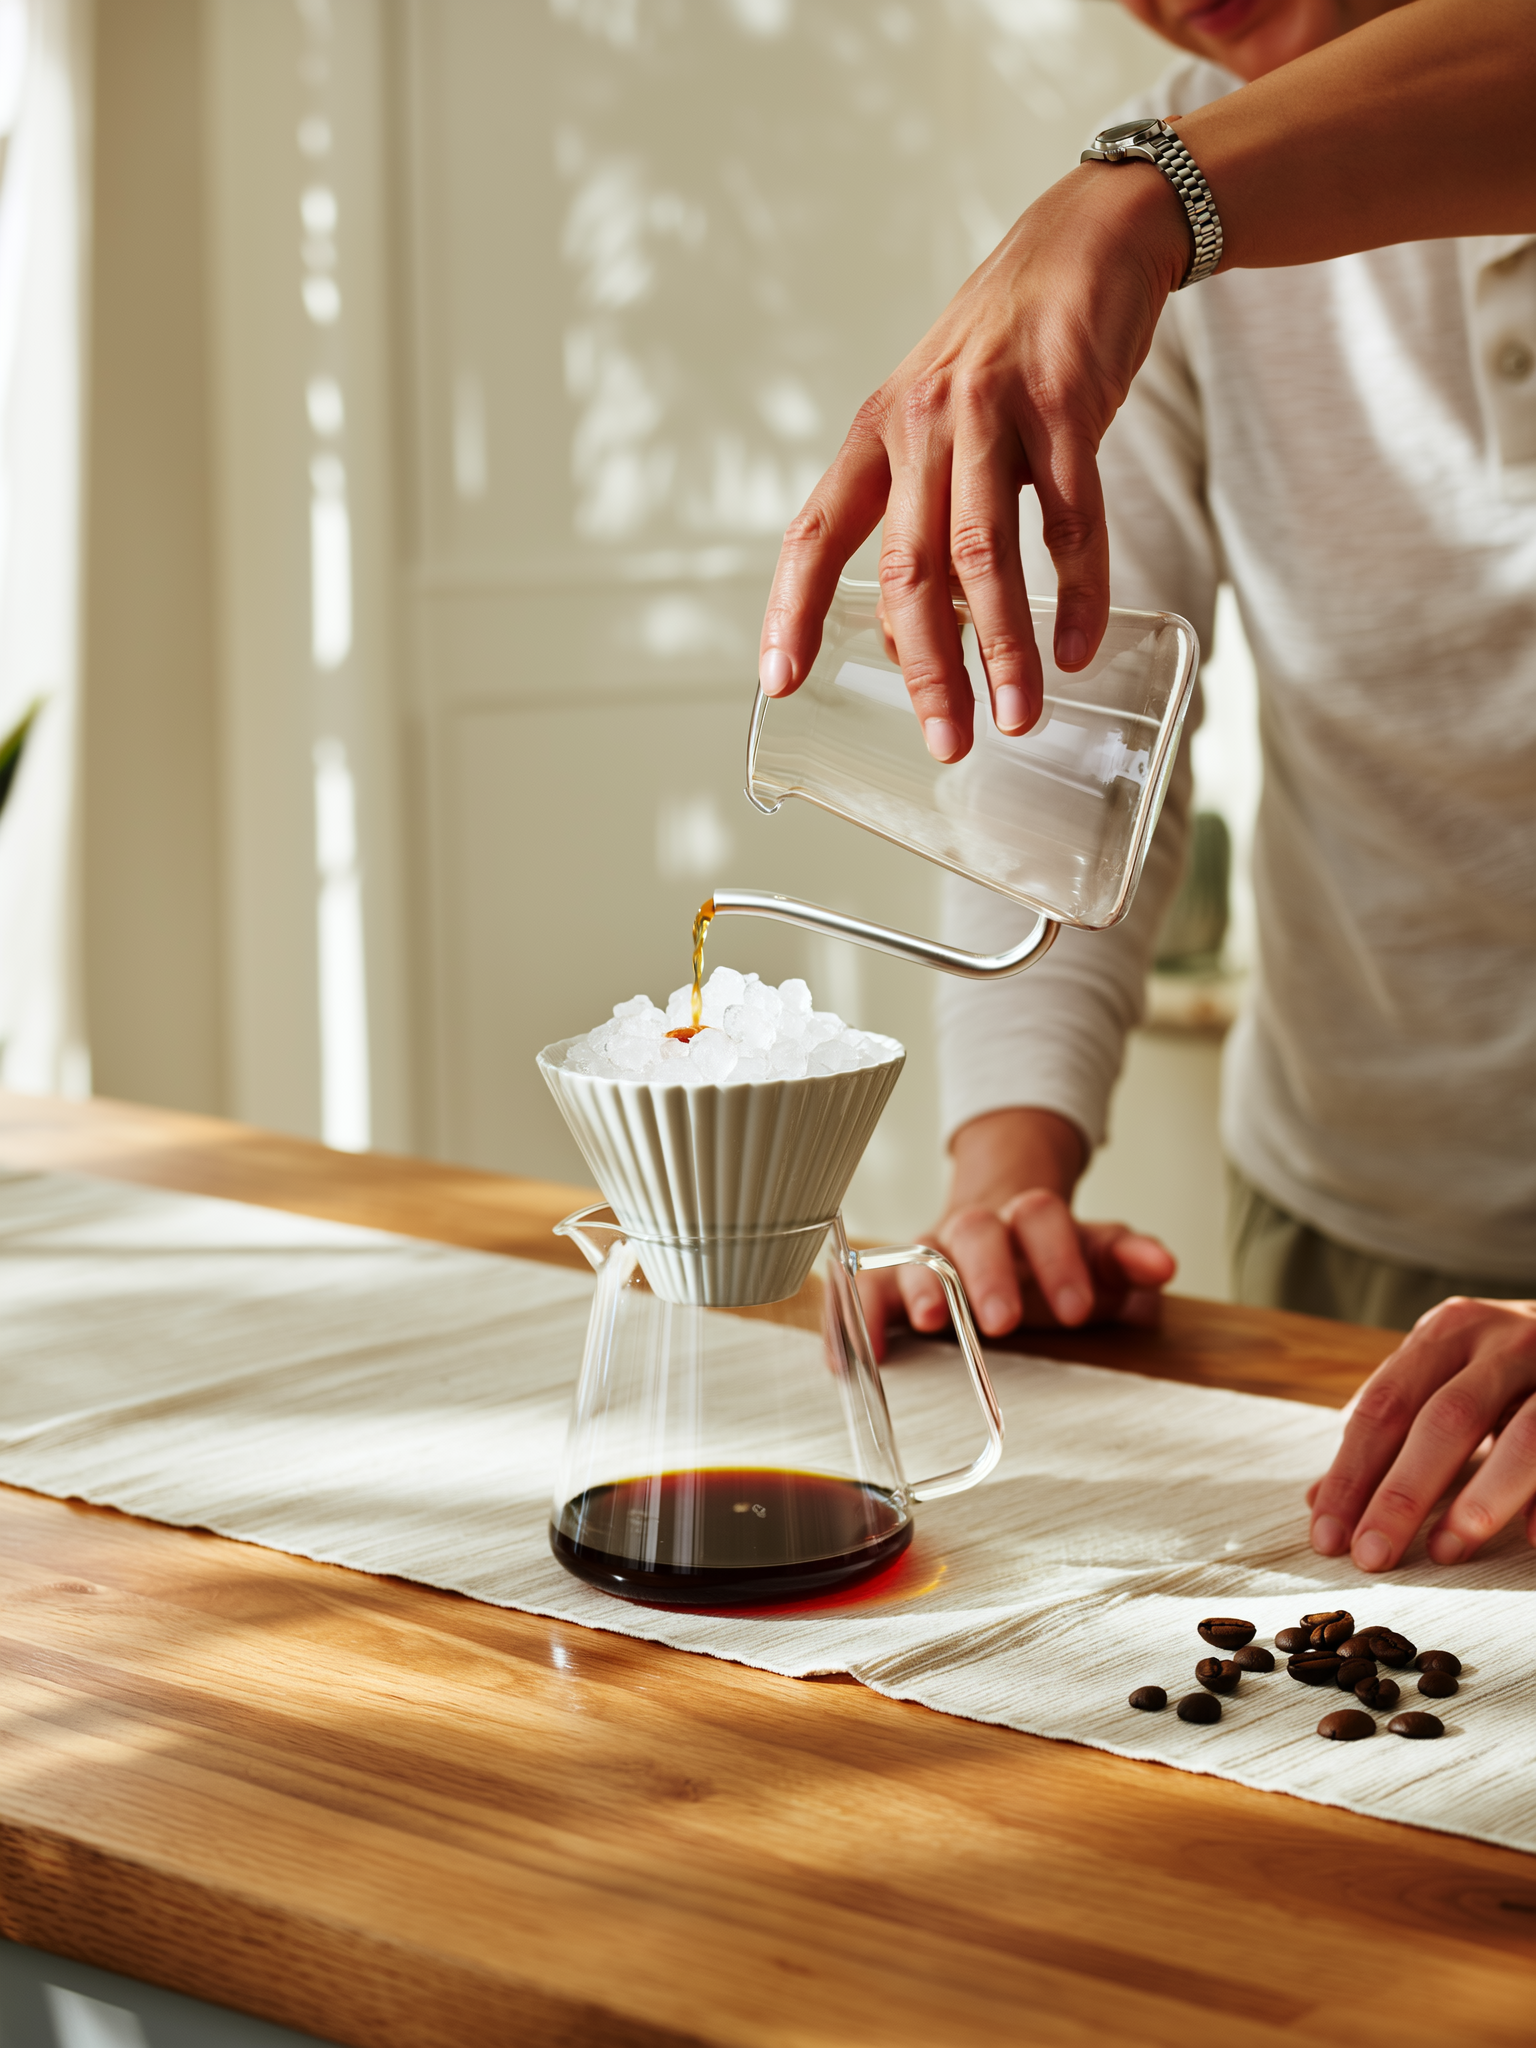
Because you’re using hot water for extraction, you get all the speed and efficiency of a traditional pour-over. The hot brew then drips directly onto ice, chilling instantly and locking in those volatile aromatics that would otherwise fade over hours of cold steeping.
The result? A cup that’s genuinely bright and nuanced — you can actually taste whether your beans are fruity and floral or nutty and chocolatey. Cold brew tends to flatten those differences. Iced pour-over celebrates them.
And on a hot day when you wake up craving iced coffee right now, that five-minute turnaround is hard to beat.
Choosing the Right Coffee Beans for Iced Pour-Over
Not every bag of coffee you own will thrive in this method. Bean selection matters more for iced pour-over than it does for, say, French press — and here’s why.
Go light to medium roast. When coffee chills, the flavor profile shifts. Dark roasts can turn sharp or smoky when iced. Light and medium roasts, on the other hand, hold onto their fruity, floral, and citrus-forward notes beautifully when chilled. Ethiopian naturals, Kenyan washed beans, and Colombian single-origins are popular choices for a reason.
Single-origin over blend. Blends are often designed to taste balanced at a single serving temperature — usually hot. Single-origin beans have a more defined flavor fingerprint that comes through clearly even over ice. If you’re investing in specialty coffee, this method lets you actually taste what you paid for.
Check the roast date, not just the “best by” date. Freshly roasted beans — ideally 2 to 4 weeks off roast — still have enough CO₂ to bloom properly. That bloom phase (more on this below) is what starts extraction on the right foot. Beans that are several months old tend to be flat and stale, and no brewing technique saves a stale bean.
Quick tip: If your local roaster’s bags don’t have a roast date printed on them, that’s worth noting. Roasters who print roast dates are usually more serious about freshness.
Essential Gear Setup for Hot-Day Brewing
The beauty of iced pour-over is that you don’t need any specialized equipment beyond what you might already own for regular pour-over brewing.
Here’s what you’ll want to have ready:
- A pour-over dripper. The Hario V60 Plastic Coffee Dripper is a popular choice, but a Melitta single-cup dripper or a Chemex works just as well for iced preparation. The key variable is the filter — use a clean paper filter to keep the brew clear and bright.
- A gooseneck kettle. Precise pour control matters more in pour-over than almost any other method. A Fellow Stagg EKG Electric Gooseneck Kettle lets you distribute water evenly over the grounds, which directly affects extraction consistency.
- A tall vessel or carafe. You’ll be brewing hot coffee directly onto a pile of ice, so you need something that can hold both. A standard 16 oz mason jar works fine. A glass carafe gives you more room if you’re brewing a larger batch.
- A digital scale. Eyeballing coffee and water ratios is one of the fastest ways to end up with an inconsistent cup. A simple kitchen scale Hario V60 Drip Scale that measures to the gram is all you need. It doesn’t have to be fancy.
- Plenty of ice. Sounds obvious, but you want to plan ahead. Make sure your ice cube tray is full the night before. Crushed ice chills faster but also dilutes more quickly — standard cubes give you better control.
Step-by-Step Iced Pour-Over Brewing Method
Let’s get into the actual process. This routine is for a single serving — approximately 240–280 ml (8–10 oz) of finished iced coffee.
What you’ll need:
– 18–20g of freshly ground coffee (medium-fine grind)
– 240g of hot water at 195–205°F / 90–96°C
– 150–180g of ice in your brewing vessel
Step 1: Set up your vessel and add ice.
Place your dripper over your cup, jar, or carafe. Fill the vessel with ice — roughly halfway. The ice is what chills the brew as it drips through, so don’t skip this step or reduce it too dramatically.
Step 2: Rinse your filter.
Pour a small amount of hot water through the paper filter before adding coffee. This removes any papery taste and pre-warms the dripper. Dump out the rinse water before you proceed.
Step 3: Add your coffee and bloom.
Add your ground coffee to the rinsed filter. Start your timer. Pour just enough hot water to wet all the grounds — roughly 40–50ml for an 18g dose. Let it bloom for 30 seconds. You’ll see the grounds bubble and expand slightly. This is CO₂ releasing, and it’s a good sign you’re working with fresh beans.
Step 4: Pour in slow, steady circles.
After the bloom, begin your main pour. Work in slow, concentric circles from the center outward, keeping your pour steady and controlled. Aim to finish all your water around the 2:30 to 3:00 minute mark.
Step 5: Watch it drip directly onto the ice.
As the coffee drips through the filter, it falls onto the ice below and chills instantly. You’ll hear a satisfying hiss as the hot coffee hits the cold ice. That’s exactly what you want. The rapid chilling locks in the aromatics and clarity that make this method special.
Step 6: Stir, taste, and serve immediately.
Once the dripper is done, give the cup a quick stir to even out the temperature. Taste it. Add more ice if needed. Drink it while it’s at its best — right now.
Adjusting Ratios and Grind for Hot Days
Here’s where a little experimentation pays off.
The standard hot pour-over ratio is around 1:16 (1g of coffee per 16g of water). But because some of your water weight is being replaced by ice — and because ice will melt and dilute the brew — you’ll want to brew slightly stronger than usual.
The go-to iced pour-over ratio is 1:15. So for 300g total water, use 20g of coffee. Some baristas go as high as 1:12 for a concentrate-style brew, then top it up with water or milk. Start at 1:15 and adjust from there based on how it tastes.
Grind slightly finer than you would for hot pour-over. Iced brewing moves fast — the coffee hits the ice immediately and stops extracting once it’s cold. A slightly finer grind gives you a little more surface area and ensures you’re pulling enough flavor before the temperature drops.
Ice volume affects strength more than you’d expect. More ice dilutes more. If you prefer a stronger cup, reduce the ice by 20–30% and accept that your drink will be a bit cooler rather than ice-cold. If you like it lighter and more refreshing, go heavier on the ice.
Flavor Pairing and Serving Tips
Part of what makes iced pour-over so enjoyable is how versatile it is once it’s in the glass.
With milk or a milk alternative. Light roast single-origins pair beautifully with oat milk. The natural sweetness of oat milk complements fruity or floral notes without overwhelming them. If you prefer a creamier texture, full-fat dairy milk or a barista-blend oat milk is worth the upgrade.
With a simple syrup or sweetener. Honey dissolves surprisingly well in cold coffee if you whisk it in quickly. Vanilla syrup adds warmth without competing with the coffee’s character. A pinch of cinnamon on top of an oat milk iced pour-over is underrated.
Straight, no additions. If you’ve dialed in a great bean, try it black first. The brightness and clarity of a well-brewed iced pour-over can genuinely surprise you. A Kenyan AA or Ethiopian Yirgacheffe over ice can taste almost juicy — something you’d never notice in a cold brew.
Troubleshooting Common Iced Pour-Over Problems
Even a simple method like this has a few failure modes. Here’s how to fix the most common ones:
The cup tastes weak or watery.
You either used too much ice, too little coffee, or a grind that was too coarse. Try reducing ice by 20%, bumping your coffee dose up by 2–3 grams, or grinding slightly finer. Adjust one variable at a time so you know what actually changed the result.
The coffee tastes bitter or over-extracted.
This usually means the grind is too fine, the water was too hot, or the bloom went too long. Try coarsening your grind by a few clicks or shortening your bloom time to 20 seconds. Water temperature at 195°F rather than 205°F can also smooth things out.
The coffee isn’t cold enough after brewing.
Two fixes here: first, pre-chill your vessel in the freezer for 10–15 minutes before you brew. Second, use more ice upfront. The vessel and the ice are doing all the chilling work — if either is insufficient, you’ll end up with lukewarm iced coffee, which is nobody’s idea of a good time.
The flavor seems flat or one-dimensional.
This is usually a bean freshness issue. Check your roast date. If your beans are more than 6–8 weeks off roast, they’re likely past their peak. Fresher beans make a noticeable difference in this method because you’re relying on the clarity of hot extraction, not hours of slow steeping to pull flavor out.
Make It Part of Your Summer Morning Routine
The iced pour-over isn’t a complicated technique — it’s really just your existing pour-over habit with ice in the cup. But the result feels a lot more intentional than dumping leftover cold brew over ice.
Once you’ve dialed in your ratio and grind for iced brewing, the whole process takes about five minutes. That’s faster than waiting for a coffee shop line, and the quality is genuinely comparable to what a specialty café would serve you.
Try it tomorrow morning. Start with a 1:15 ratio, medium-fine grind, and whatever light roast you have on hand. Taste it before adding anything. See if you can catch the origin notes before the ice melts.
That’s the whole point of this method — coffee that’s good enough to actually notice.
Looking to upgrade your pour-over setup? Check out our guide to the best pour-over drippers for home brewing — including options at every price point.